Editor’s Note: This excellent how-to is a guest post from our friends and colleagues at the Overland Expo Foundation. After you take a deep dive into all things vehicle recovery, be sure to take a look at what they’ve been up to. They are always working to assist groups that are introducing people to overlanding, working to increase access to trails, and protecting and preserving our public lands. They’re a true asset to the overland community at large.
Overlanding is an exciting way to explore the great outdoors, traveling across vast landscapes while relying on your vehicle to take you to remote and breathtaking locations. However, venturing into rugged terrain means that vehicle recovery is an essential skill to have in your toolkit. Whether a beginner or a seasoned traveler, understanding the basics of vehicle recovery can be the difference between a minor hiccup and a serious obstacle during your overland journey.
Keep reading to learn key fundamentals of overland vehicle recovery, including essential equipment, techniques, and best practices for safe and efficient recovery.
Why Vehicle Recovery Is Important
When driving off-road or on remote trails, getting stuck is almost inevitable at some point. Mud, sand, snow, rocks, or steep inclines can quickly become impassable. A recovery situation can arise when you least expect it, whether it’s due to traction loss, mechanical failure, or obstacles. Knowing how to recover your vehicle safely can prevent damage to your rig, ensure your safety, and minimize time spent in vulnerable conditions.
READ MORE: In Defense of the Overnighter with the Ultimate Overland Motorcycle
Efficient vehicle recovery skills and equipment are not only valuable for pushing the limits of your vehicle on difficult tracks but also when something goes wrong or breaks on easier trails or even on rough roads that are far away from help. A malfunction or failure within the four-wheel drive system of your vehicle in a remote place can make a moderate trail very difficult to navigate, and having the resources and knowledge to get you and your vehicle out of trouble is priceless.
Essential Vehicle Recovery Gear
Before embarking on any overlanding or off-road trip, having the right recovery gear is critical. Here’s a rundown of the must-have items to keep in your recovery kit:
Recovery Straps
Recovery straps (also called tow straps or kinetic recovery ropes) are designed to stretch and store energy, helping to pull a stuck vehicle free with minimal shock load. Ensure you select a strap rated for your vehicle’s weight, typically with a breaking strength two to three times your vehicle’s gross weight.
For example, if your vehicle has a curb weight of 5,000 lbs (2,267kg), your recovery strap should have a minimum breaking strength of 12,500 lbs (5,443 kg) or more.
D-Shackles or Soft Shackles
Shackles provide secure attachment points for your recovery straps. D-shackles (metal) and soft shackles (synthetic) both have their advantages, but soft shackles are lighter, less prone to damage, and safer to use if something goes wrong during recovery. As with anything braided, proper maintenance and inspection are key to using synthetic shackles.
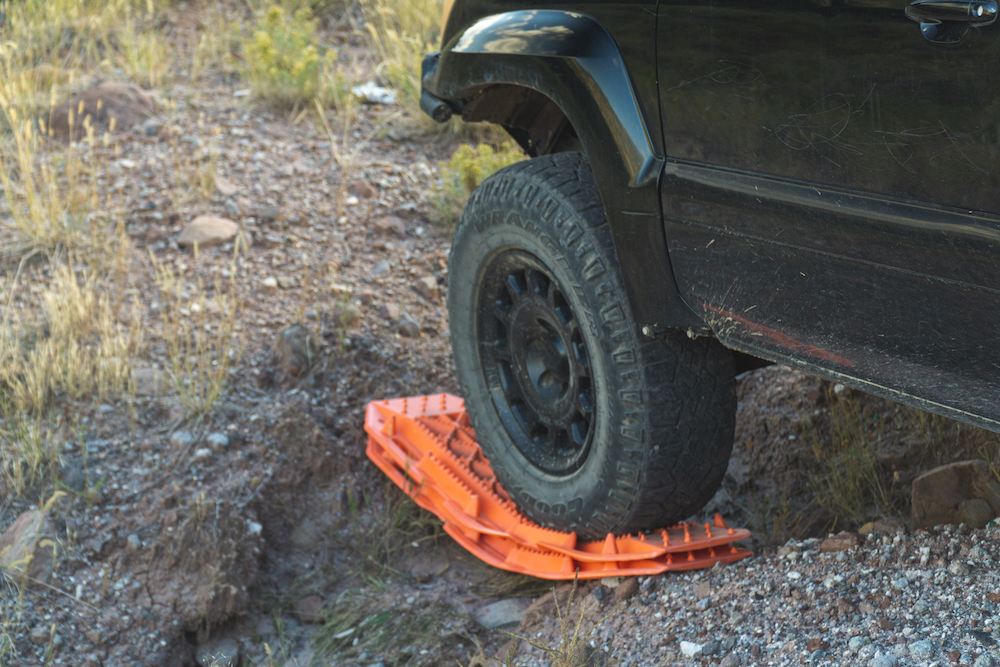
Recovery Boards (Traction Mats)
Recovery boards are one of the most straightforward tools for gaining traction in loose or soft terrain such as mud, snow, or sand. By placing them under your tires, you can quickly regain traction and drive out of a stuck position. Recovery boards come in a variety of lengths, materials, and weight ratings. Consider the type of terrain that you will experience and purchase the best recovery board for your needs.
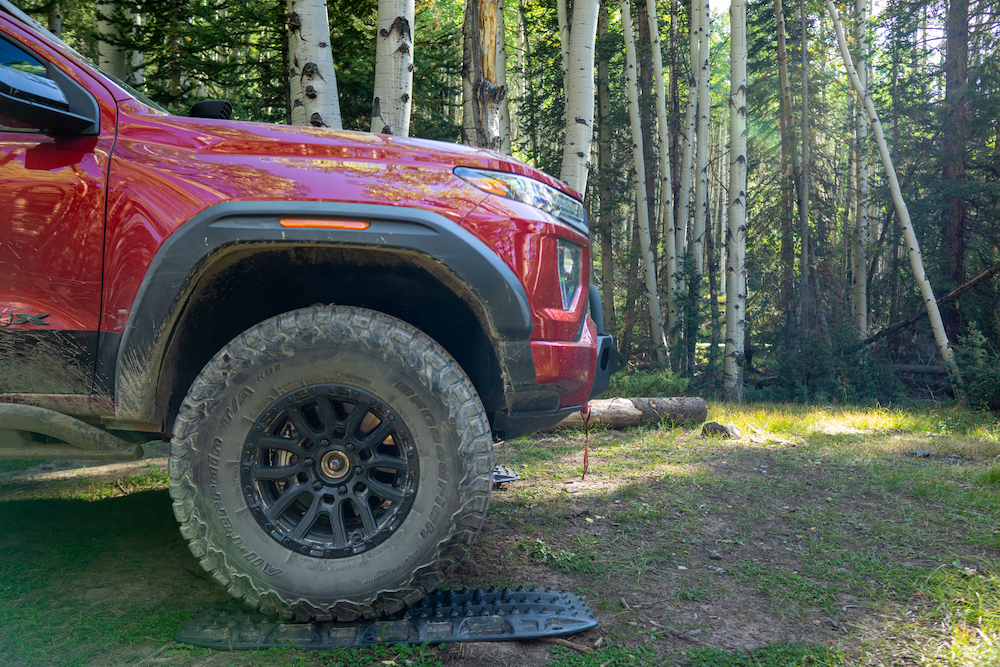
MaxTrax is almost synonymous with the term recovery boards, and with good reason. For years, adventurers around the world have used them to increase their traction and confidence on overland journies, and that’s why we chose them as the recovery boards on the Ultimate Overland Build. Oftentimes, you can save a lot of time and effort by throwing some MaxTrax down when you hit a section of trail with loose or slick surfaces.
Gloves and Protective Gear
Safety is paramount during any recovery operation. It is smart to take your time while setting up recovery and think through the forces involved, the angles at which each vehicle is being pulled, and the ratings of the gear that you are using. When handling cables and equipment, thick gloves protect your hands from cuts, burns, or injuries. Also, eye protection and sturdy boots are advisable when working in rough terrain.
Winch
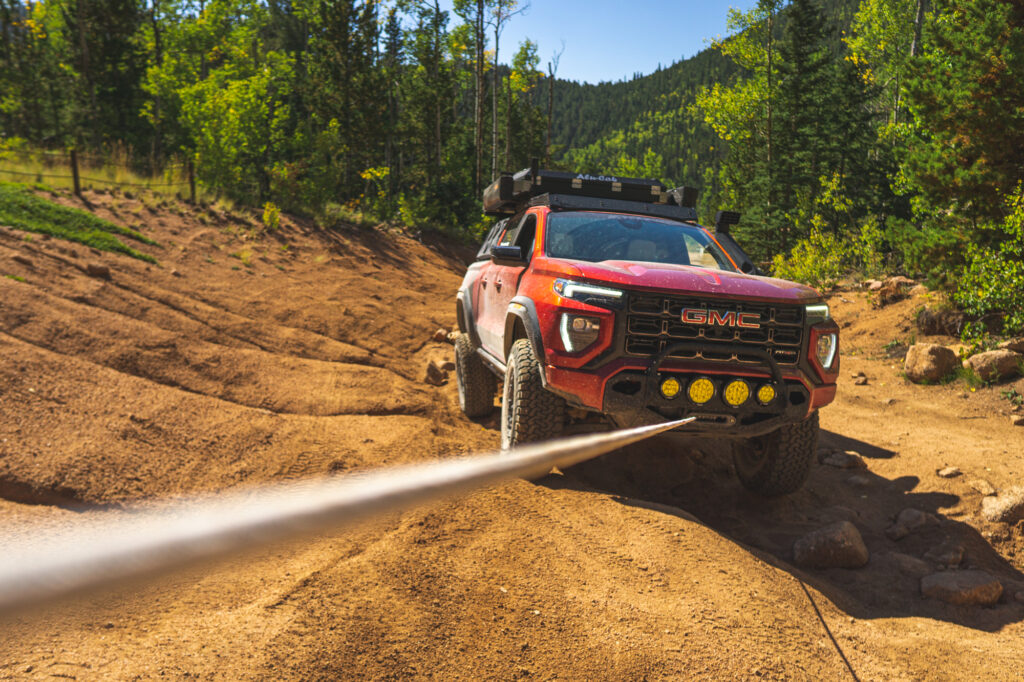
A winch can be a game-changer for difficult recoveries, particularly when traveling solo. A winch uses a motor-driven cable to pull your vehicle out of a stuck situation. Paired with a tree saver strap (to protect trees during winch use), a winch can help recover a vehicle in complex scenarios like steep inclines or deep mud.
If a winch is a device you anticipate needing often in your travels, consider spending a little more cash for a winch with a synthetic line. Synthetic line is lighter, safer, and just as strong as steel cable when maintained properly.
READ MORE: The Best Overland Deals of the Week
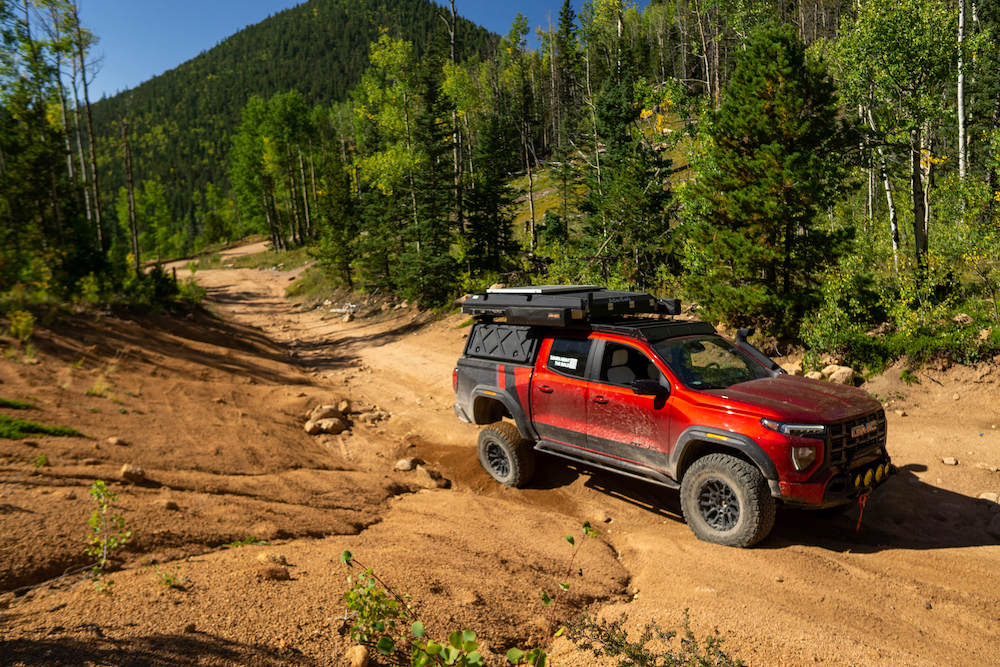
The 2024 Ultimate Overland Build is outfitted with a ComeUp USA Solo 9.5 Winch. It features a 9,500 lb. pull line rating, aluminum die-cast housings with steel drum, and both wired unless controller options are required. It’s a great option for an outfitted midsized truck like the GMC Canyon AT4X.
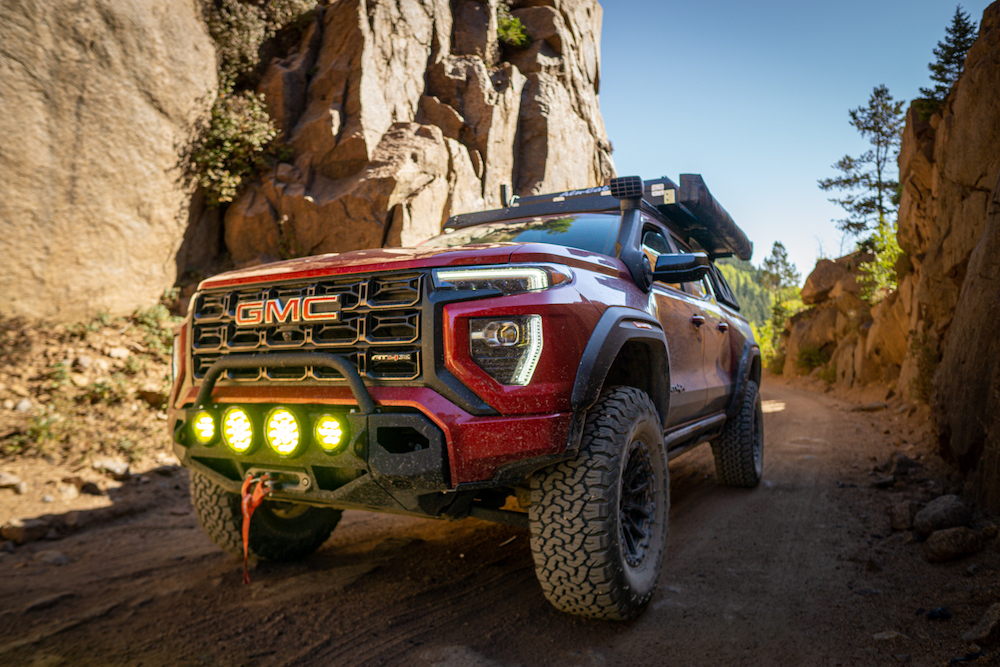
And, of course, you’ll need to pair your winch with an appropriate bumper. The bumper needs to be outfitted with a fairlead, and it needs to be compatible with or include a winch mounting plate. Since it’s intended for offroad use, being constructed from a strong material is a plus. The Mini-Fighter Stealth Front Bumper from 589 Fabrication is all of that and more. Not only does it provide a sturdy mounting location for the ComeUp Solo 9.5, but it’s also integrated with additional lighting, and it meshes well with the body panels on the Canyon.
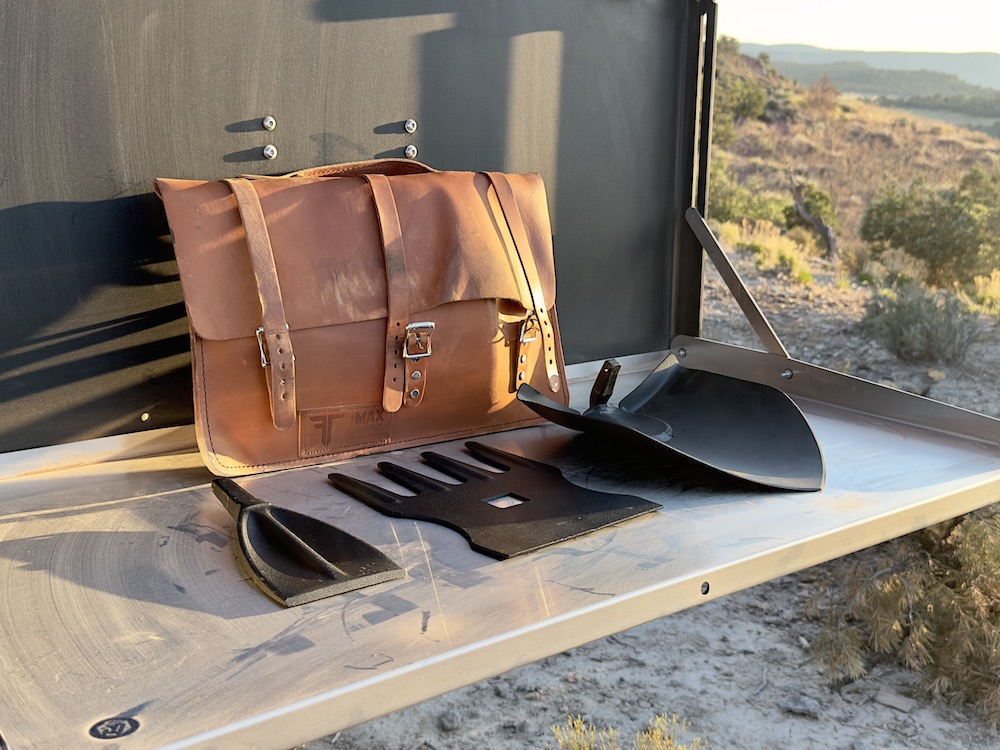
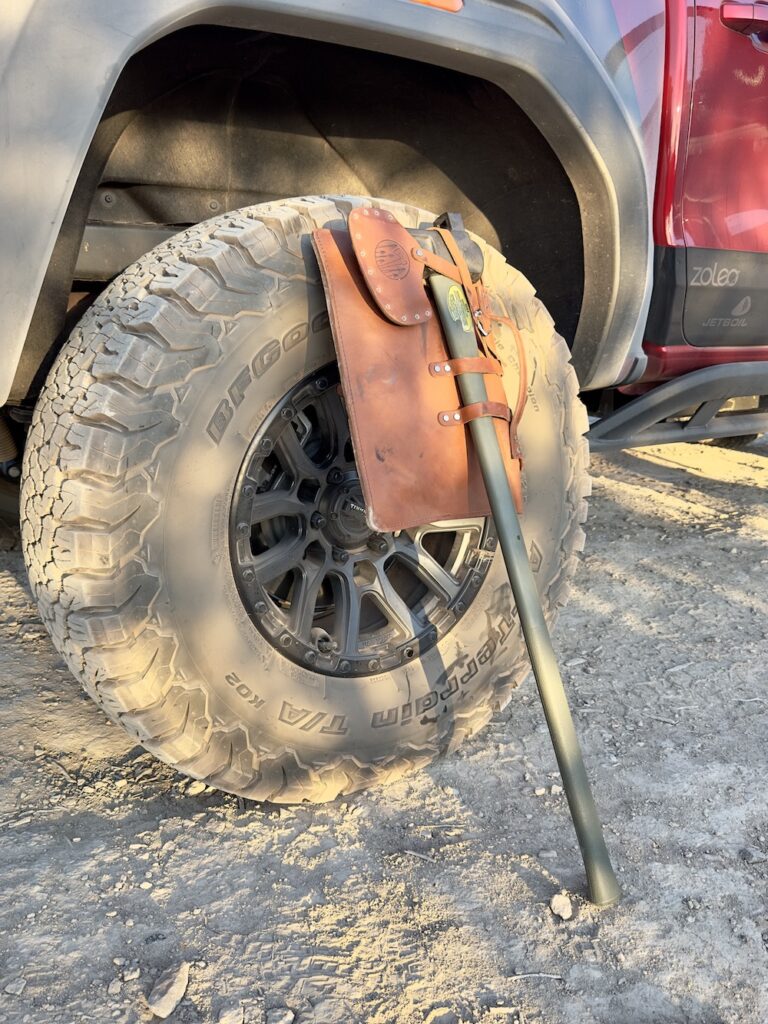
Shovel
A sturdy recovery shovel can be essential for digging out tires buried in mud, snow, or sand. It’s a simple yet highly effective tool that can make a big difference in many recovery situations. While it might be appealing to find a short-handled shovel that tucks away nicely, consider the extra work needed to use a small shovel. A full-length shovel is easier to use and doesn’t take up that much extra roof space. The 2024 Ultimate Build is outfitted with the Max Tool Kit from Forrest Tool Company. This kit is based around a high-quality USA-made ax, and it includes a number of attachments that are handy in recovery situations.
Basic Recovery Techniques
Understanding how to use your gear is as important as having the right tools. The best way to be competent at vehicle recovery is to practice, practice, practice. Remember, “Proper Prior Planning Prevents Piss Poor Performance.”
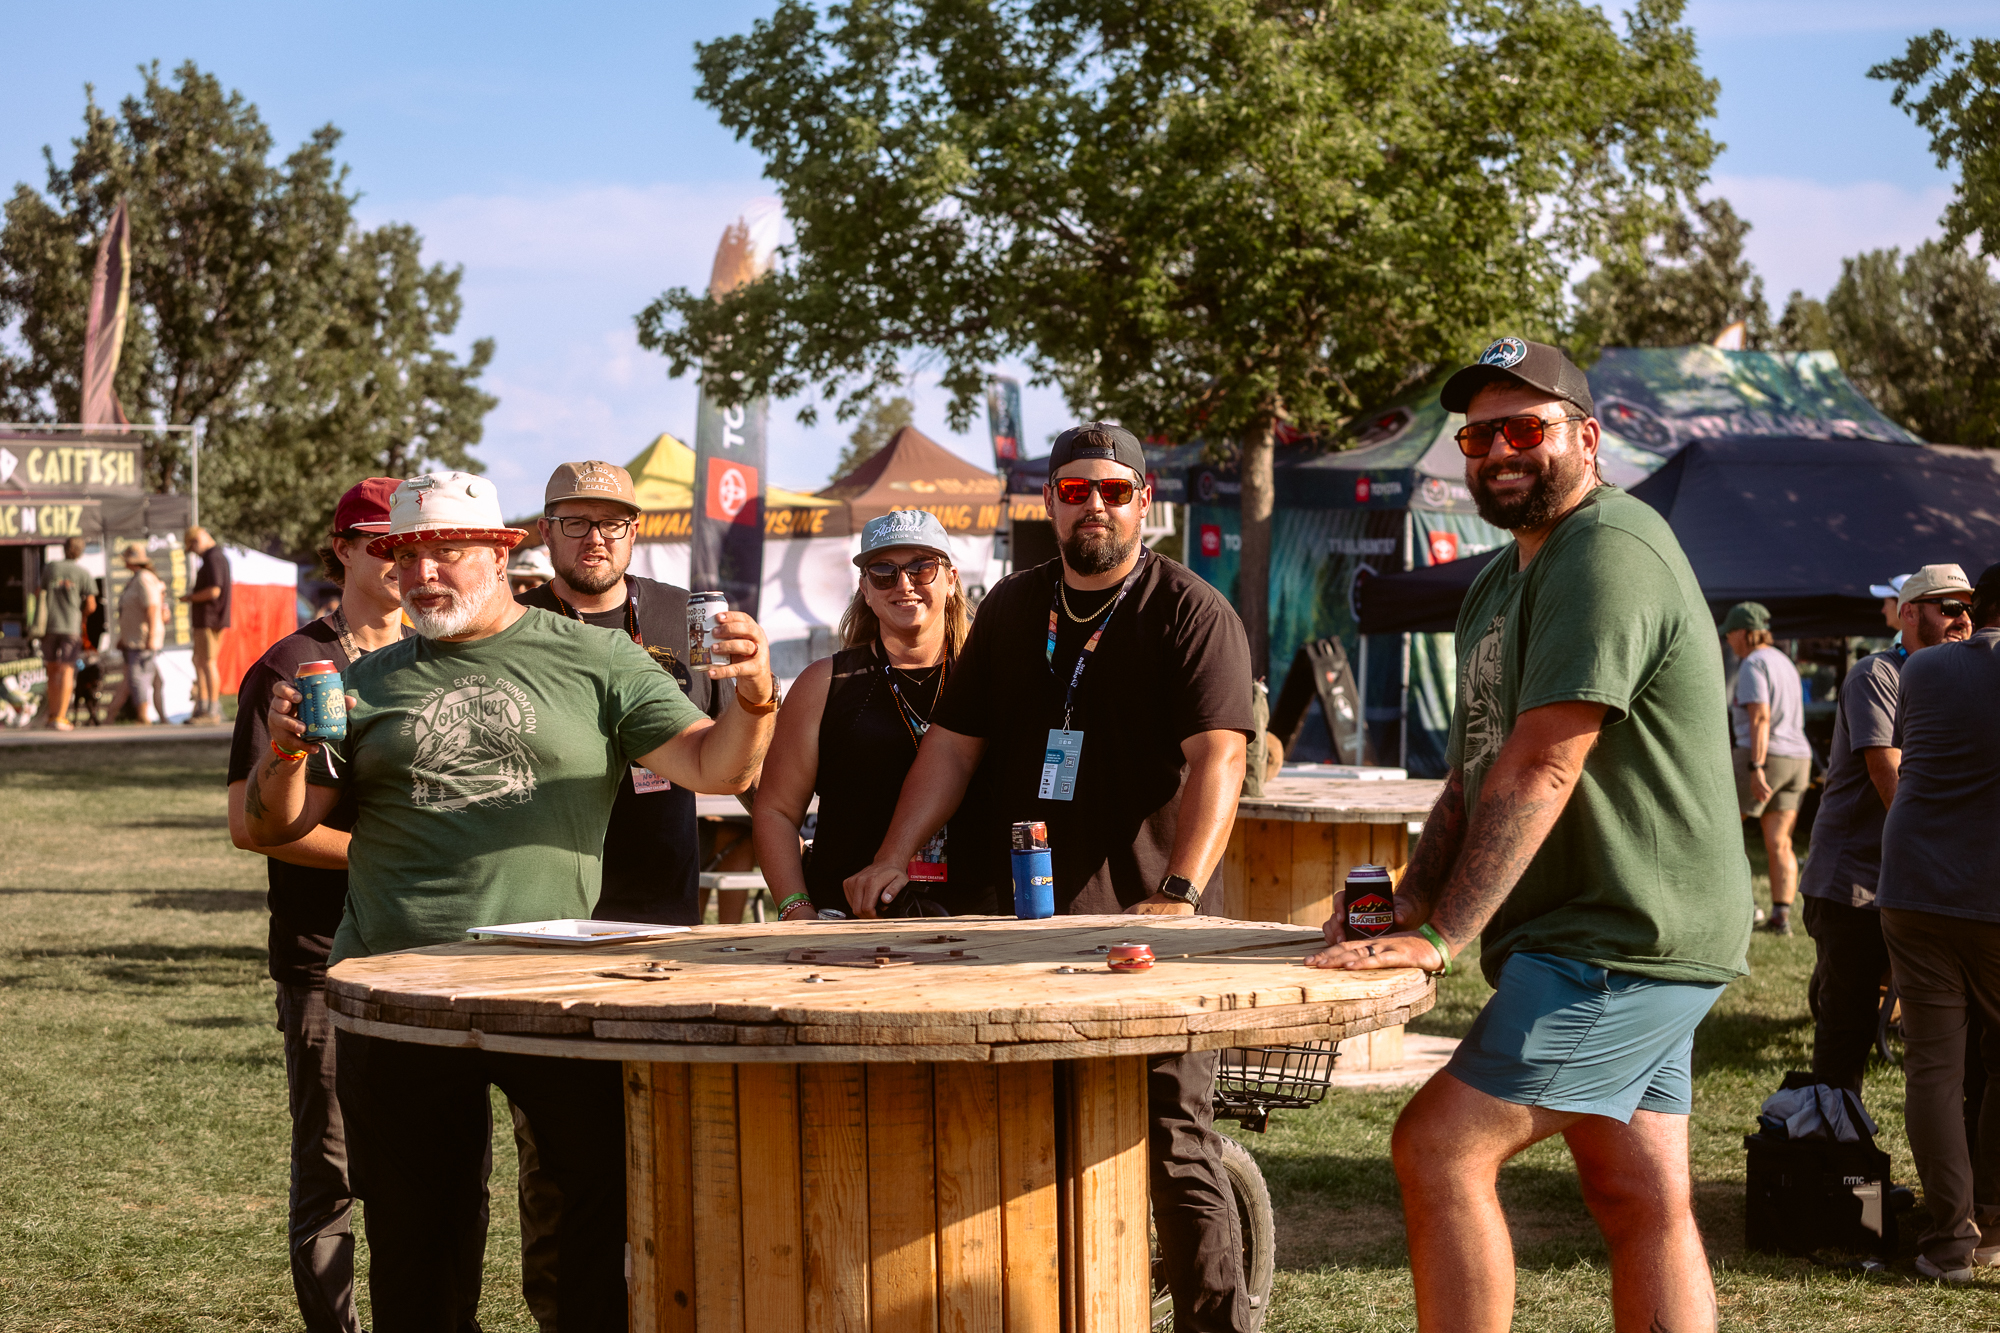
An excellent way to learn and practice recovery techniques is at an Overland Expo event. Some of the most well-traveled and competent trainers in the off-road industry teach at Overland Expo events.
Here are some basic recovery techniques that every overlander should know:
Self-Recovery with Traction Boards
If you’re stuck in soft terrain, recovery boards can be used to gain traction. Begin by digging out the front of each tire using your shovel or even the boards themselves. Place the boards as close to the wheels as possible, slightly angled under the tires. Gently accelerate to allow the tires to grip the boards and pull the vehicle free. Avoid spinning your tires, as it may dig you deeper into the terrain.
When shopping for recovery boards, consider purchasing in a bright color. While the neutral-colored boards might match your rig better or stand out less, the brighter the recovery board, the easier it is to find on the beach or in the mud hole.
In a pinch, recovery boards can even be used to bridge a narrow gap in between rocks or cross a small ditch. Check your boards to make sure they are rated for bridging. The most common use for traction boards is typically to level a vehicle at a campsite that is not flat.
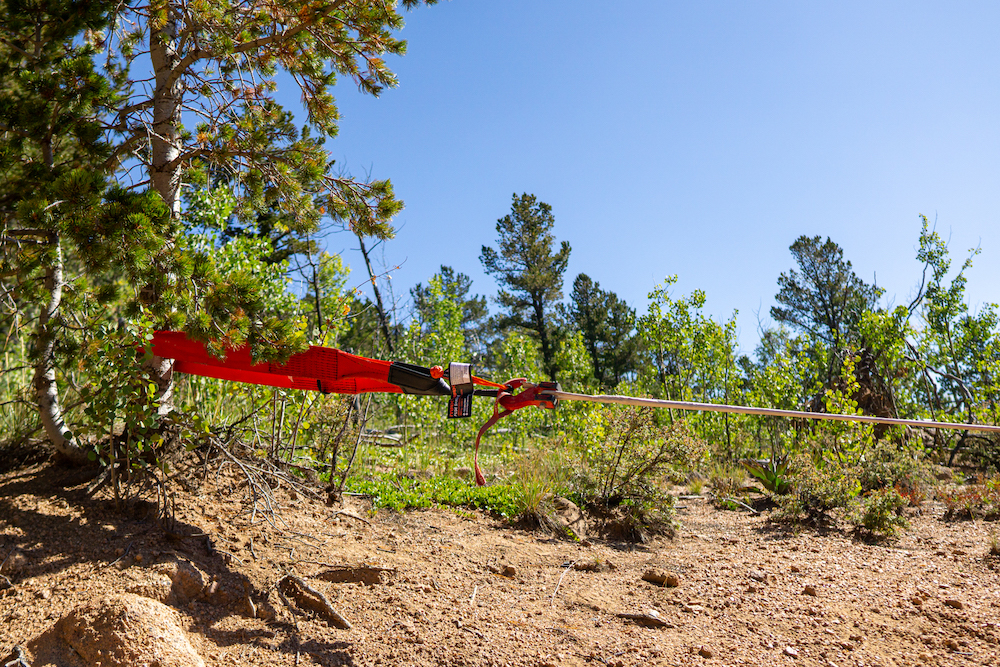
Snatch Strap/Rope Recovery
When traveling with another vehicle, a snatch strap or kinetic rope recovery can be one of the quickest solutions to get unstuck. Attach the snatch strap or rope to rated recovery points on both vehicles (never use a tow ball). The rescuing vehicle should lay out the winch line with a kink that is visible from the side mirror and gently accelerate until the kink disappears, signaling the stuck vehicle to apply minimal and consistent throttle. The elasticity of the snatch strap will allow it to build momentum and pull the stuck vehicle out smoothly.
It is important to understand both the ratings of your snatch strap as it relates to the vehicles involved and how many times you can use it before letting it cool down or decommissioning it entirely. Traditional snatch straps are recovery consumables. Always inspect your gear for increased wear or damage before using.
Winching
When using a winch, attach the cable to a sturdy anchor point, such as a tree or a large rock, with the use of a tree-saver strap. Slowly reel in the winch cable, maintaining constant tension while monitoring the cable for any signs of stress. Winching should be done slowly to avoid any sudden snaps or damage and to allow the winch to stay cool.
When using a winch, safety should be the most important consideration. Always affix a winch blanket or recovery bag over the connection between the winch hook and the tree strap. If something fails, the winch blanket will weigh down the cable and prevent the hook from becoming a projectile. Ensure that all bystanders are out of the range of the winch rope if something were to break. When it comes to winching, always plan for the worst-case scenario.
Tire Deflation
If you’re stuck in deep mud or sand, reducing tire pressure can increase the surface area of your tires and help them float on the soft terrain. When deflating your tires, aim for 50-65% of your highway tire pressure. Avoid going below 10-15 PSI, as the risk of dropping a bead becomes higher at these lower pressures. Keep in mind that as you lower tire pressure, your handling characteristics will change, and your steering will become boggy and less responsive. Lower pressures should equal lower speeds in general.
Deflating your tires can also improve ride quality on corrugated and rough roads. A good rule of thumb for rough roads is to reduce your tire to 65-75% of your asphalt pressure.
Always make sure that you have the means to inflate your tires back up after you deflate them. Tires driven on asphalt at low pressures are hard to handle, unpredictable, and will wear much faster than properly inflated tires.
Safety Tips
Recovery can be dangerous if not handled correctly, so here are a few key safety tips:
- Use Rated Recovery Points: Always use manufacturer-rated recovery points when attaching straps, shackles, or winch cables. Using incorrect points can result in serious damage or injury.
- Avoid Standing in the Line of Fire: Stay clear of the direct line of any recovery straps or cables during the process. In the event of a failure, the straps or cables can recoil with deadly force.
- Communicate Clearly: If you’re working with others, ensure clear communication between drivers and recovery assistants. Establish hand signals or use radios to avoid confusion.
- Take Your Time: Rushing through a recovery increases the likelihood of mistakes. Assess the situation, double-check your gear, and proceed methodically to ensure everyone’s safety.
Preventive Measures
While recovery skills are vital, taking preventive measures can help you avoid recovery situations in the first place:
- Know Your Vehicle’s Capabilities: Understand your vehicle’s ground clearance, weight, approach angles, and 4WD features to avoid putting it in a compromising position.
- Scout the Terrain: If you’re unsure of the conditions ahead, get out of the vehicle and assess the terrain on foot before driving through.
- Travel in Groups: Whenever possible, travel with at least one other vehicle. A companion can make recovery easier and provide a safety net if something goes wrong.
- Maintain Your Vehicle and Recovery Gear: Regularly inspect your recovery gear to ensure everything is in good working condition before hitting the trail.
Overland vehicle recovery is an essential skill for anyone venturing into off-road environments. With the right equipment, knowledge, and approach, you can tackle most recovery situations confidently and safely. As with any outdoor activity, preparation and practice are key. The more familiar you are with your gear and techniques, the better you’ll be able to handle any challenges that arise on your overland adventures.
So, pack your recovery gear, train with your gear and vehicle, stay safe, and enjoy exploring!