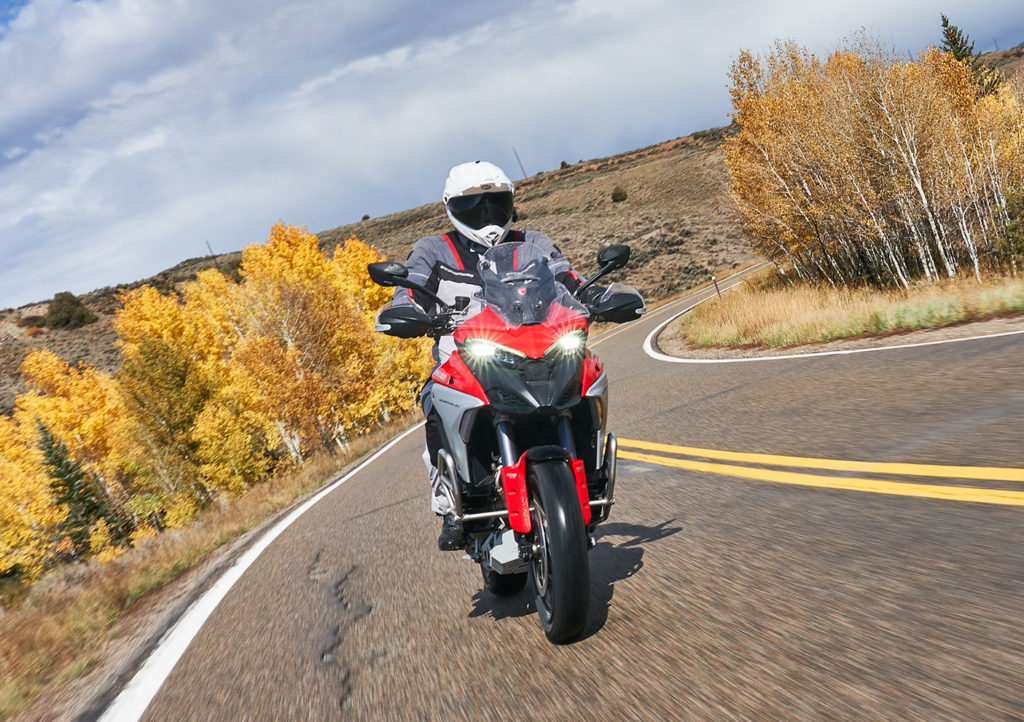
Quick Take: Bell’s MX-9 motocross helmet has been a rider favorite for years, so Bell gave it a bit of a street-smart massage for adventure riders with the MX-9 Adventure version. Recently, it’s been given an additional safety boost with the addition of a MIPS (or “Mips” as they are calling it now) layer for added safety in a crash. I’ve been wearing one for several months now, along with a couple of key extras added in for good measure. Fortunately, I have not had to test its crash-worthiness.
Safety First – What is MIPS/Mips?
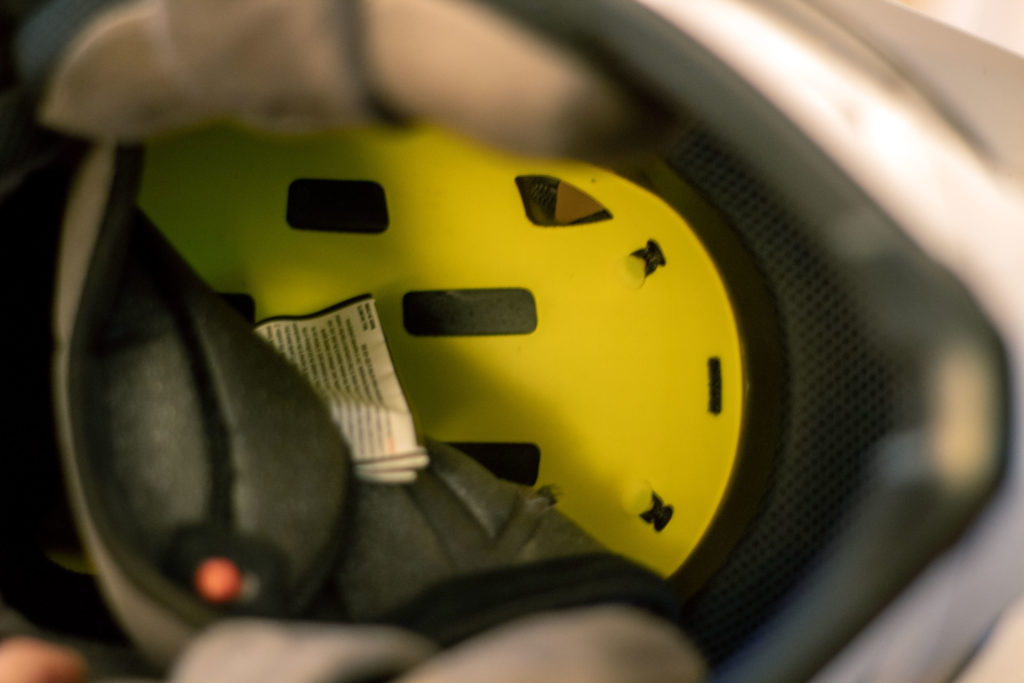
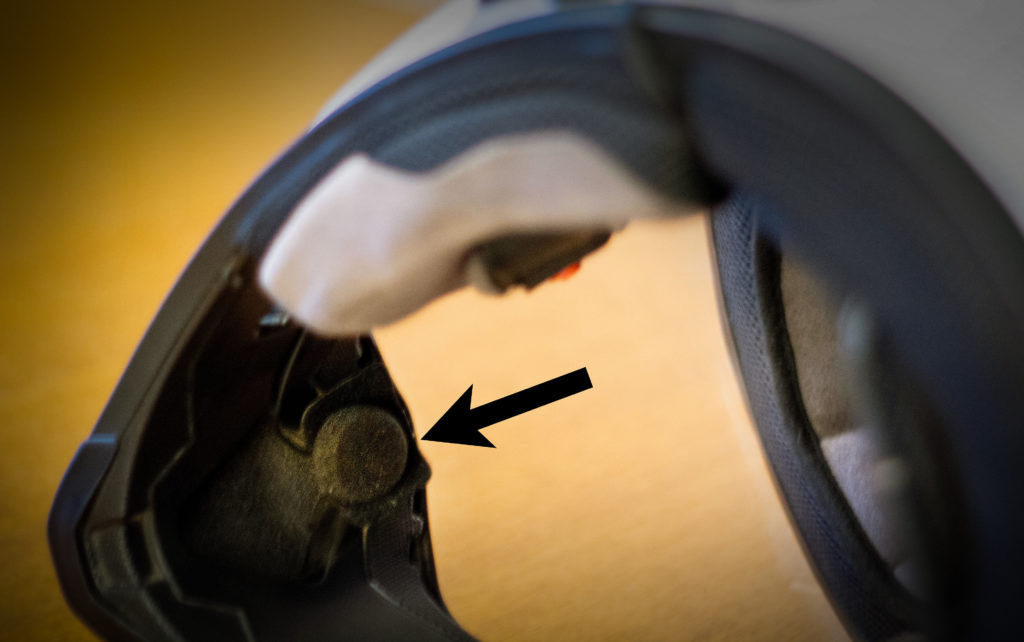
Briefly, helmets with MIPS/Mips technology have a very thin internal “slip layer” between the shell and padding that allows the helmet to rotate quickly around your head in a non-blunt force type of impact, such as your head striking the pavement during a low-side sliding crash. The tech has been shown to reduce the incidence and severity of neck injuries in many types of crashes. The helmet looks, fits, works, and feels normal, but if you peel out an interior pad, you’ll typically find the bright yellow Mips layer underneath (below). It’s worth having and only adds $10 to the MX-9 Adventure’s price.
MX-9 Adventure Tech – And Some Add-Ons
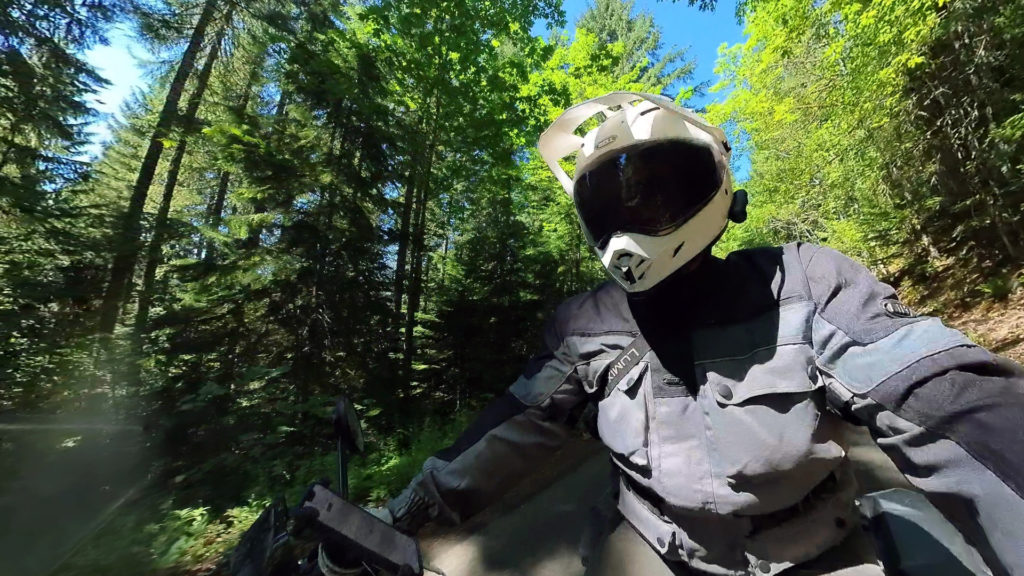
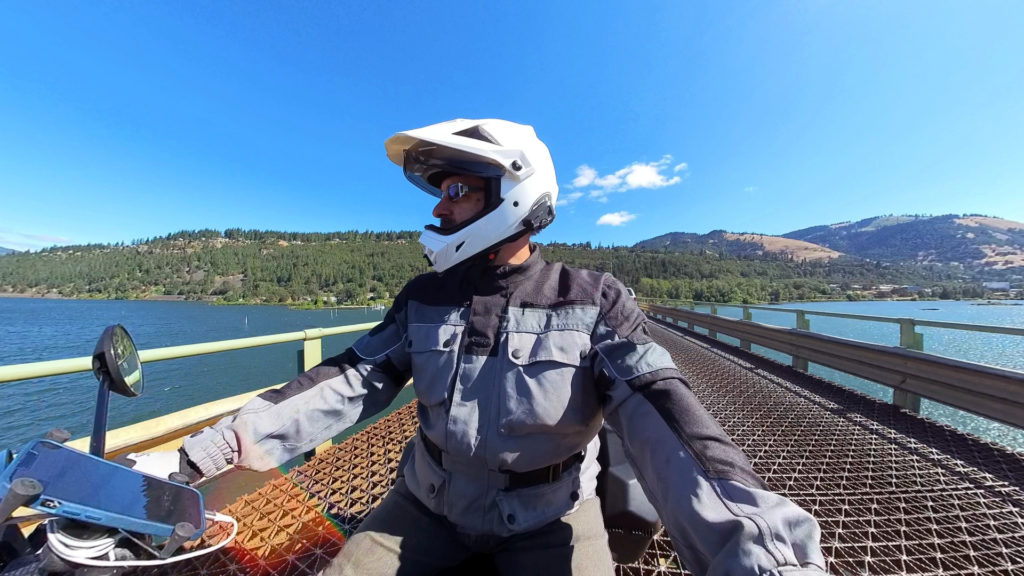
The MX-9 Adventure is a popular helmet, and for a good reason: It’s affordable at $229.99 (with Mips), and features include an adjustable top peak visor that also quickly detaches with three thumb screws. I chose the all-white color scheme for maximum visibility and heat dissipation and also opted for the high-tech Bell ProTint photochromic face shield for $150. The primary material for the helmet is polycarbonate plastic. It does not use carbon-fiber construction and weighs 3 pounds 10 ounces.
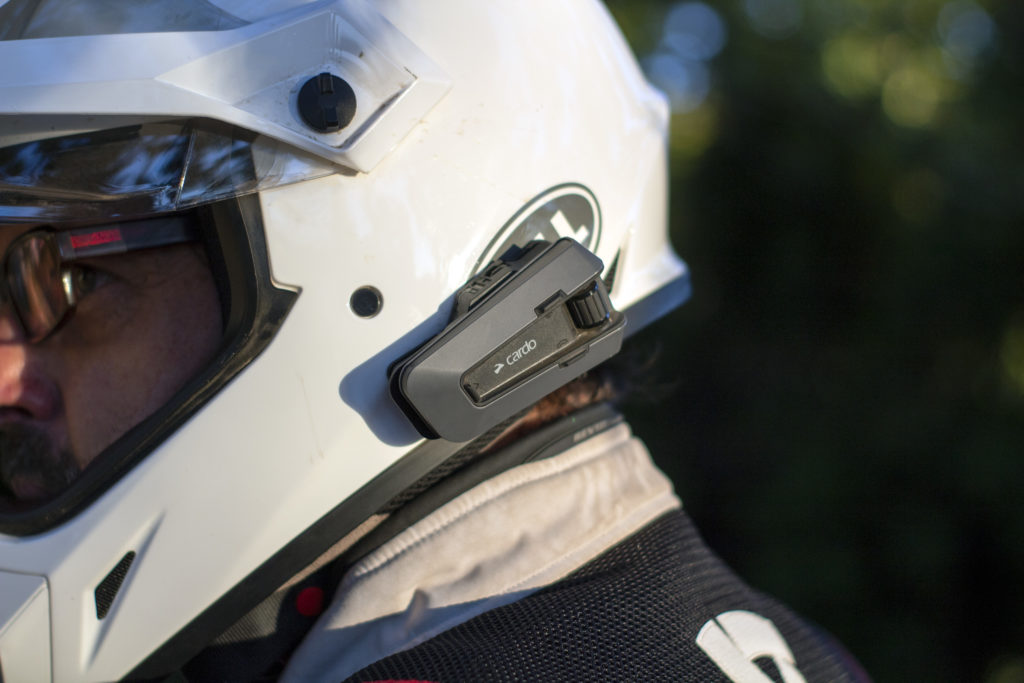
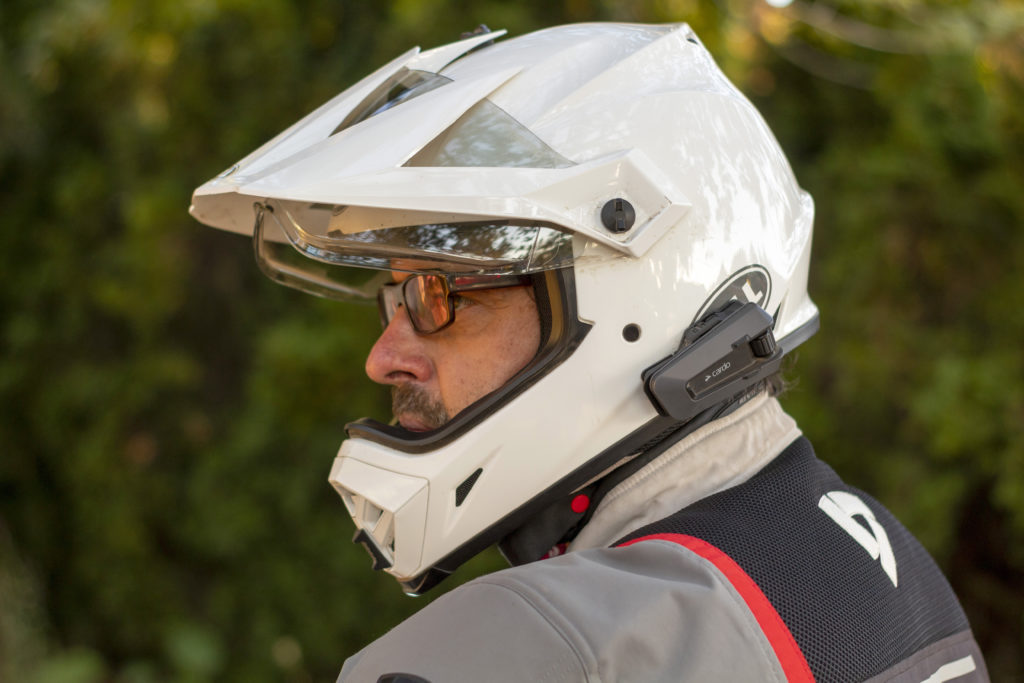
During the review period, I also installed a $350 Cardo Packtalk Edge comms system, into the MX-9, which has cutouts for speakers in the ear spaces, so installation went quickly. I snapped the pads out of the inside of the helmet and used painter’s masking tape to keep the wires in place, then snapped the pads back in. I attached the microphone to the top of the chin vent so as not to block airflow.
By the time I was done, it was about a $750 setup. The MX-9 Adventure Mips helmet is DOT and ECE 22.05 approved, but not Snell approved. There is also a more expensive $369 DLX version with the ProTint shield as standard and some other small differences, but that is not the version reviewed here.
Pro Tip on installing speakers for any comms system: Take advantage of the space provided and move the speakers around until the audio is the best quality. Even a millimeter or two can make a distinct difference. Cardo and other brands include spacers that put the speakers closer to your ears. I used the spacers, and the speakers don’t make contact with my ears, but the sound quality and volume were clearly better with the spacers. If the speakers touch your ears, they will likely become uncomfortable very quickly. Your installation needs may vary, of course, but since the MX-9 isn’t a dedicated “quiet” helmet, wind noise is a factor, so snug up those speaker bits if possible for the best sound – including while using earplugs.
Riding With The Bell MX-9 Adventure
As noted, I installed Bell’s ProTint photochromic shield, which only took a couple of minutes using a flat-bladed screwdriver (I used a Leatherman Free P4, truthfully). The face shield system does not use the Pinlock mechanism, and the face shield motion is firm but stepless, with the shield staying in whatever position you leave it in. The MX-9 Adventure goes on like most full-face helmets and uses typical D-rings for the chin strap with a red snap to keep the loose end from flapping about.
I wear a size Large (U.S.) helmet and have a fairly typical head shape, and the MX-9 Adventure was immediately comfortable. I’ve had some issues with other helmets being too tight across my forehead and leaving behind the dreaded Red Stripe of Shame upon removal. However, this hasn’t been an issue with the MX-9 Adventure. That comfort extended to some all-day rides where I was in the helmet for 10 to 12 hours, so comfort was important. The interior pads of the helmet snap out for cleaning.
READ MORE: Editors’ Choice: Moto Helmets
Some of my riding included freeway speeds, which can be uncomfortable in an ADV helmet since the peak sun visor is not exactly aerodynamic. Knowing I had a long stretch of highway riding coming up one day after a stretch of off-road travel, I removed and stored the exterior sun visor in under a minute and solved that issue. The key, of course, is not to lose the three small thumb screws that hold the visor on. I just screwed them back into the helmet. Damn the looks.
Because it is an ADV helmet, it’s a bit noisy at highway speeds, but earplugs and the Cardo Edge’s JBL in-helmet speakers were able to remedy that for the most part. Opening or closing vents on the helmet did not seem to make much difference in noise level – or in ventilation, except for the large vent in front of the mouth area of the helmet. I didn’t apply any anti-fog layers or treatment to the ProTint shield, and any fogging I encountered was quickly remedied by opening the face shield a tiny bit. Like self-tinting glasses, the entire ProTint shield darkens according to how much sunlight is present and ranges from dark sunglasses dark to perfectly clear. It adjusts automatically and can change tint rather quickly. It is sturdy and optically neutral.
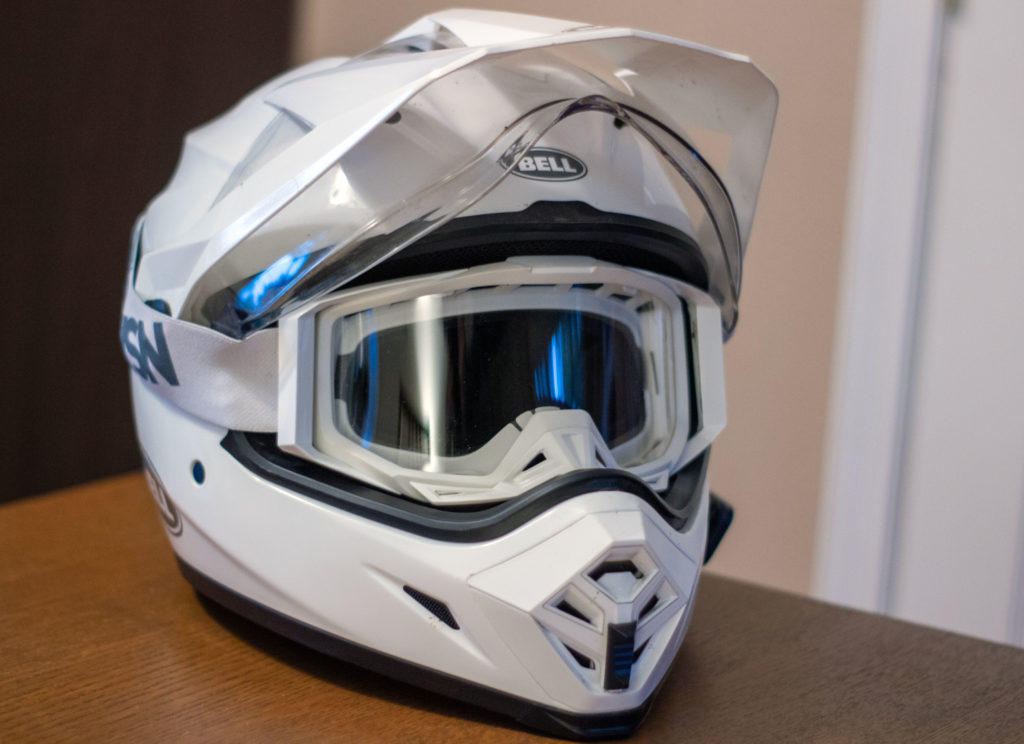
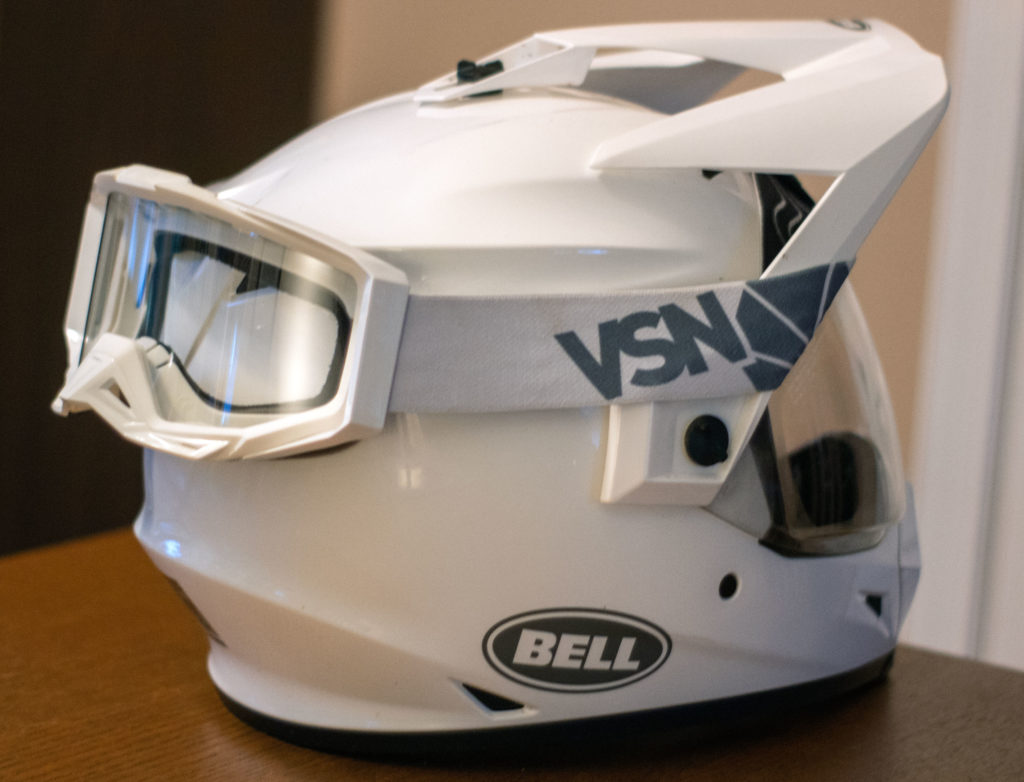
Riding with a group off-road, the dust got to be a bit much, even with the face shield closed. So I opened the ProTint shield and strapped on a pair of goggles that fit the MX-9 Adventure’s opening perfectly. The ProTint shield does not need to be removed to use goggles. The MX-9 Adventure does not include a strap clip for goggles as stock, so I ran the strap around the bottom of the helmet, and it stayed in place without issue. I could close the visor over the goggles as well, but due to the strap, the shield does not seal at the back, but it comes pretty close. Without goggles in place, the face shield forms a tight seal to the helmet, and at no point does water get past it, and I rain tested it repeatedly (because: Oregon). Dusty riding behind me, I swung the goggles to the back of the helmet and put the strap above the ProTint shield which allowed it to return to a proper seal when closed.
Using Glasses and Comms with the Bell MX-9 Adventure
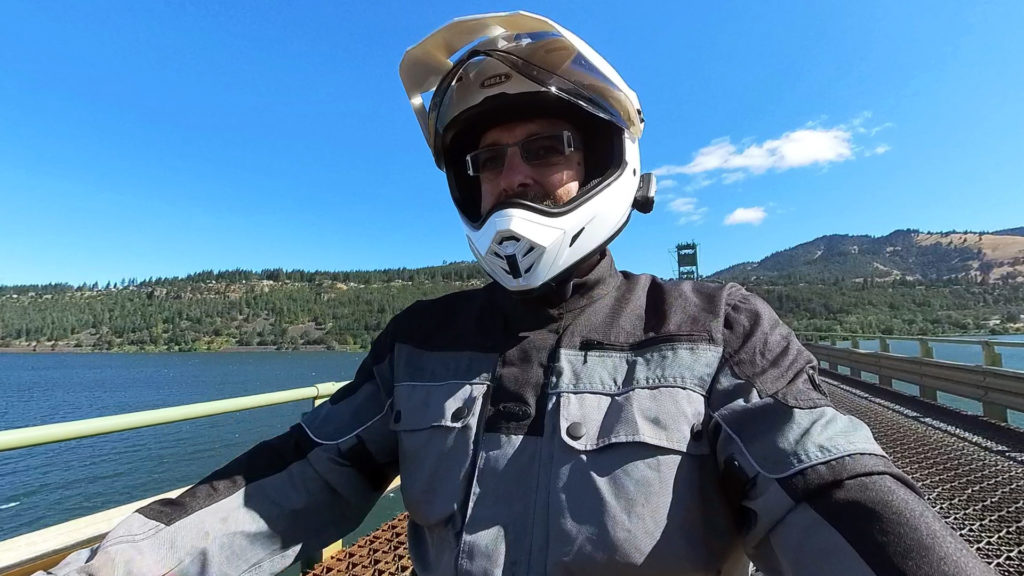
I wear glasses while riding, and I’ve got specific pairs just for riding that have thin arms for tight-fitting helmets, but I was also able to wear my “regular” glasses (as seen in the photos) in the MX-9 as the fit was snug but not so snug that the arms of the glasses were being melded to my head or were uncomfortable. Obviously, head size and shape differ from person to person, but for this rider, the fit was about as perfect as I’ve found in decades of riding. That could just be luck, but I’ll take it.
Conclusions
The Bell MX-9 Adventure helmet is popular for a reason: It works well, looks good, it’s comfortable, versatile, and affordable. Even if you opt for the DLX version with the ProTint shield included and installed for $369, it’s still a good deal. If you don’t want the ProTint shield, it’s a downright bargain, and now with MIPS tech included, the safety quotient is a bit higher as well, even though it does not have Snell certification (but it meets DOT and EU 22.05 regs).
There aren’t many negatives for the MX-9 Adventure Mips. I’d like to see a built-in drop-down sun shade like so many other helmets now feature, but that’s a minor quibble. Less weight would also be nice. I think Bell should also team with a comms maker and sell a version with a system already installed, obviously for a bunch more money, but for many people it’s worth the extra cost to have a system factory integrated. Outside of those requests and if-onlys, Bell still has a solid winner with the MX-9 Adventure Mips.
What to know:
- Great quality, fit, and price
- Mips safety tech included
- Compatible with tech-forward upgrades
- Peak visor removes quickly for highway riding
- No built-in sun visor
- Cool upgrades quickly ramp up the price
- Wind noise as with most ADV helmets
- MSRP: $229.99
With any helmet, the fit is relative to your head size and shape. Measure your head to accurately order the correct size. A helmet should fit your head snugly but not too tightly, and it should never have a loose fit. Like most apparel items, helmets can have a “break-in” period where the fit improves or loosens very slightly. That’s normal. When you get a new helmet, go for a long ride if possible to see if the fit results in any pain points, “hot spots” (often across the forehead), or a fit that “just doesn’t feel right.” If that’s the case, return it immediately in the original packaging and try another size or brand until you get a great fit.