One of the biggest challenges for any trip seems to be just getting out the door because you can’t decide what to bring overlanding. Making sure you have all of your bases covered in terms of gear can be more than a little nerve-racking. You want to be ready with everything you’ll need in the backcountry, but you also don’t want the packing list to get out of control. There’s a delicate balance between being prepared and taking so much stuff, and striking that balance can be difficult for novice and experienced overlanders alike.
If you find yourself fretting over the “what ifs” but don’t want to be caught unprepared, then take a look at our suggested categories and some items we count on to help get to the backcountry and, just as importantly, get back home.
Where are you going?
You can’t possibly prepare for every contingency, but you still need to be prepared. Your packing list should match your route and your destination. Weather, proximity to resupply opportunities, and the availability of communications all play a factor in how you pack for your overlanding trip.
Water
Everyone knows we need water to live, but carrying enough for drinking, cooking, and cleaning up can be a challenge, especially on longer trips. If the area along your route provides opportunities to refill from trusted sources or even filter wild water, you can save lots of weight and space. Just be sure that you’re getting it from a trusted source and that you have the option to filter the water if there’s any doubt that it’s safe to drink.
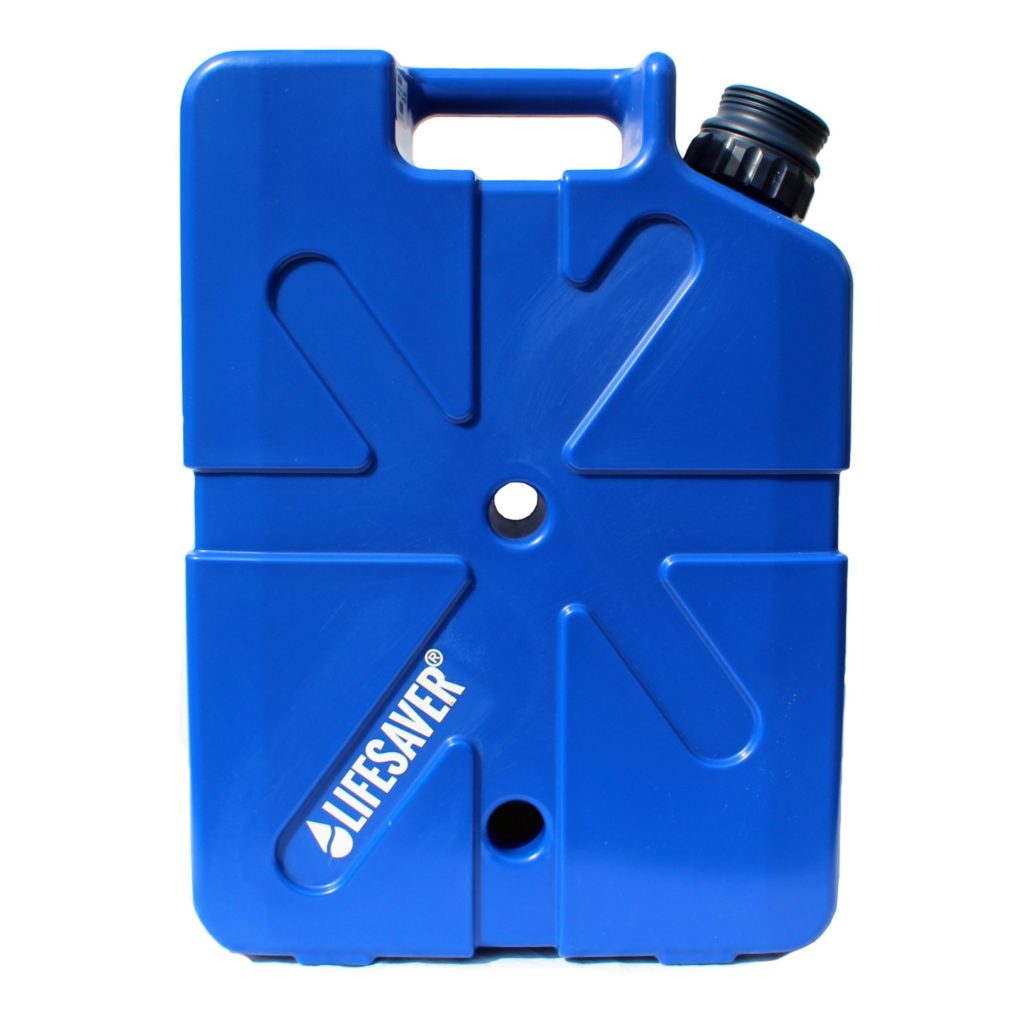
The LiveSaver Jerrycan is a great option for carrying 18.5 liters of water, and you also have the ability to filter 20,000 gallons by filling the jerrycan and using the integrated hand pump to pull the water through the filter element.

Or you can use the tried and true Scepter water cans for storage. They fit in standard Jerry Can holders, and the vented lid makes pouring from them significantly easier than in other large containers.
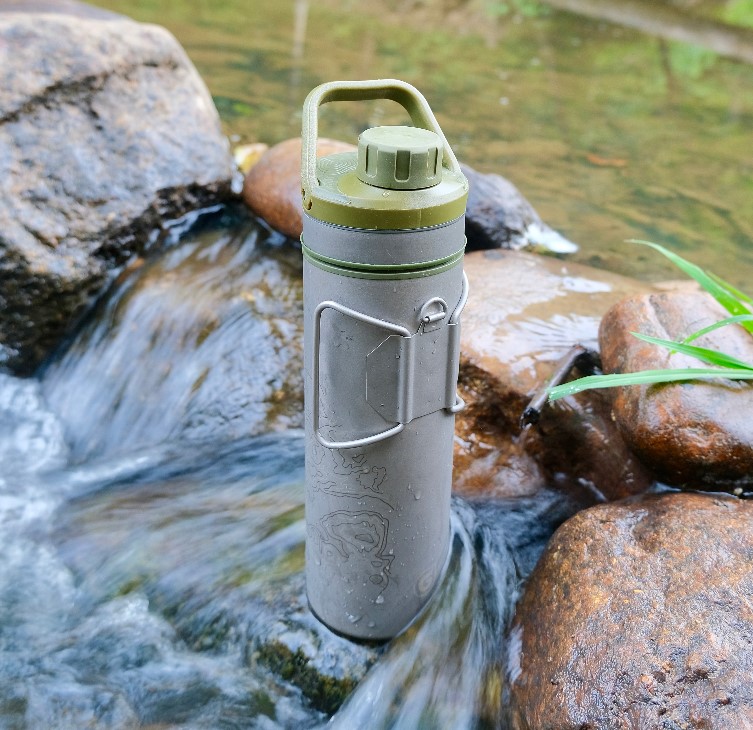
If you’re looking for a packable filter that can guarantee clean water, whether you’re camping out of your rig or heading out on a day hike, you should take a look at GRAYL’s line of water purifiers. That’s right; purifiers are not just filters. GRAYL Geopress takes care of bacteria, viruses, heavy metals, and other chemicals, so you can drink from some dubious sources without worry. The whole process takes less than a minute, and they’re a great way to have access to clean drinking water no matter where you roam.
READ MORE: Best Knives & Multi-Tools for Overlanding
Fuel
Fuel gets you out there and gets you back. Sometimes, the area and your rig will dictate how much fuel you need to bring along. But, even if you don’t expect to need it, it’s never a bad idea in case you have to reroute or get delayed by rough terrain. Alternatively, you may run into someone else who miscalculated their fuel situation and needs a helping hand.
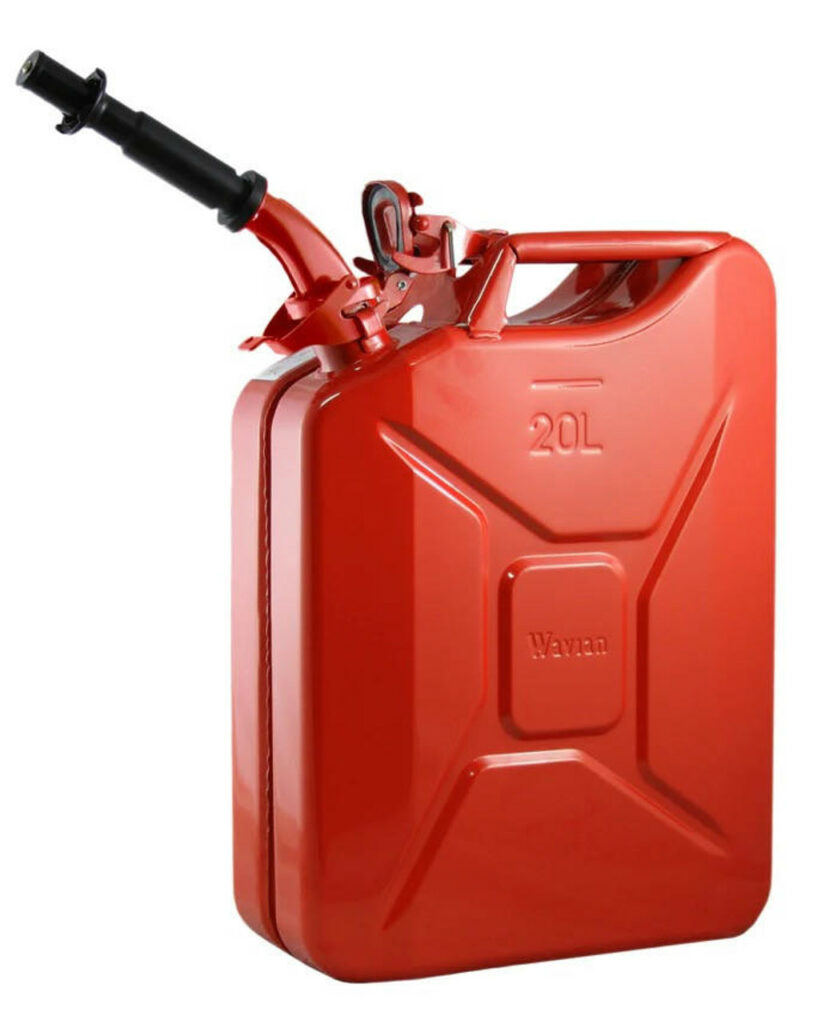
A classic jerry can like this one from Wavian is still an excellent option for carrying fuel. Many off-road bumpers include mounts for this type of container. With a little bit of care, they’ll last for years.
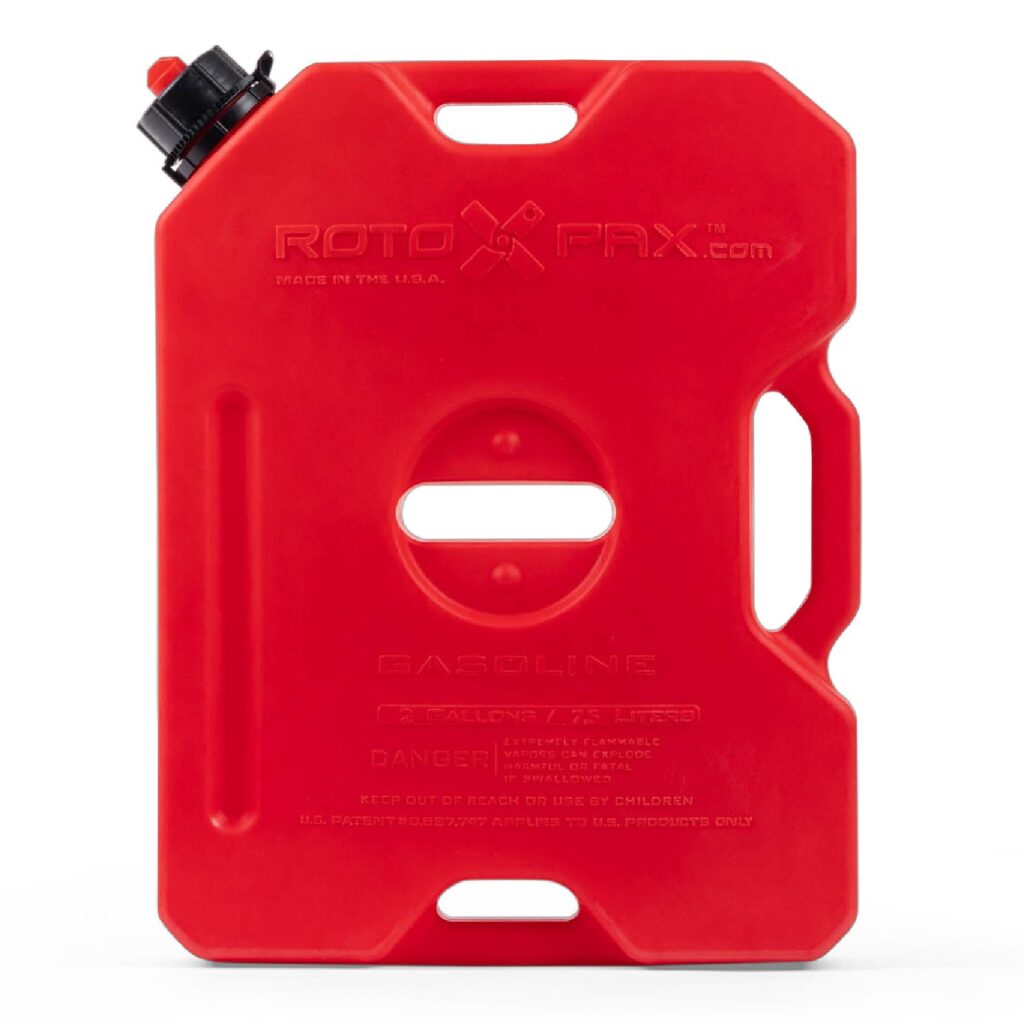
You can also consider something from the RotoPAX line. The flat orientation of these fuel containers allows them to be mounted and stored in various options. When considering fuel storage options, always check that they’re DOT-approved, and regularly inspect failure points such as gaskets and any damaged areas.
Navigation Equipment
Regardless of where you venture, you should always have primary and backup navigation tools. GPS options range from applications on smartphones and tablets to dedicated devices. It’s important to remember that cell service is never guaranteed, so maps stored offline are a necessity. It’s a good idea to also have backup navigation.
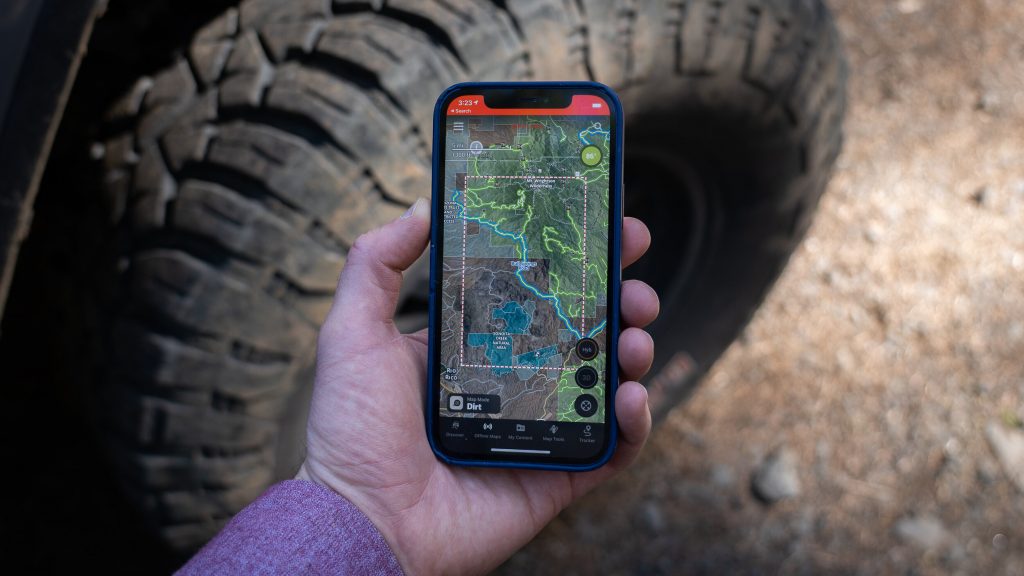
There are several mobile applications that give you the ability to plan routes, track a trip, mark waypoints, and store maps offline. Don’t wait until you’re on the trail to become familiar with the user interface, and again, download your maps locally. We’re fans of Gaia GPS and OnX Offroad for trip planning and navigation in the backcountry.
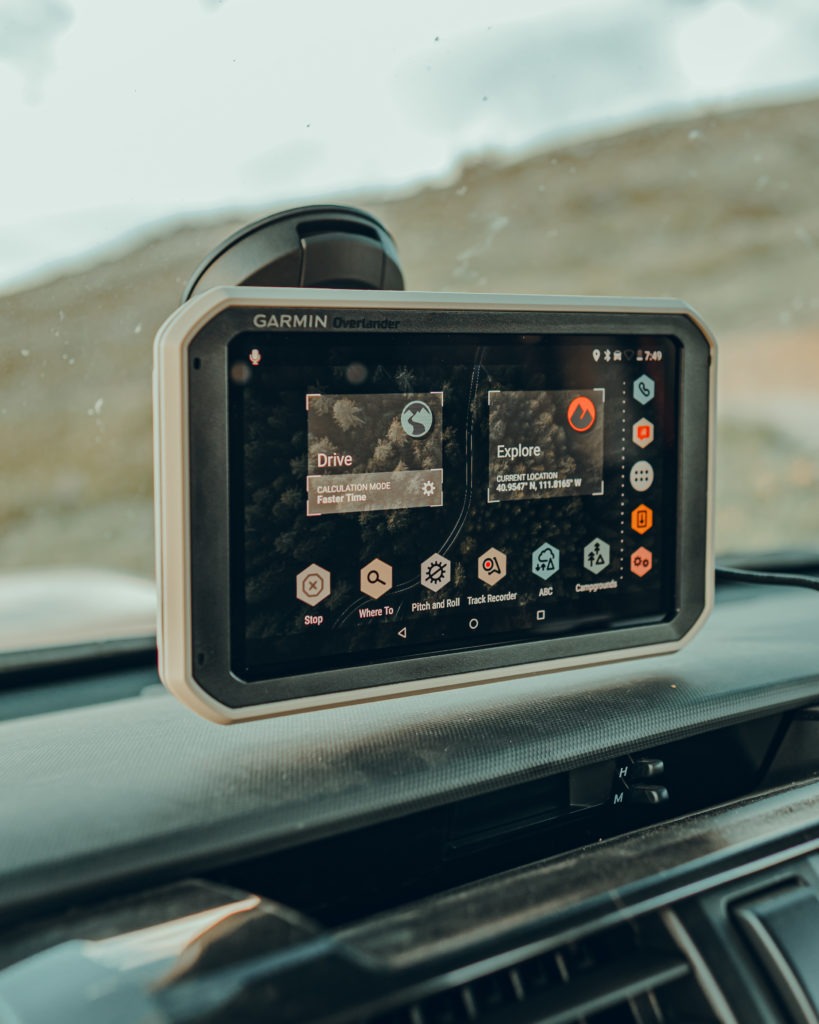
A dedicated GPS unit is a great option for on and off-road navigation. The Garmin Overlander made a big impact in the market, and now they have several off-road-focused models.
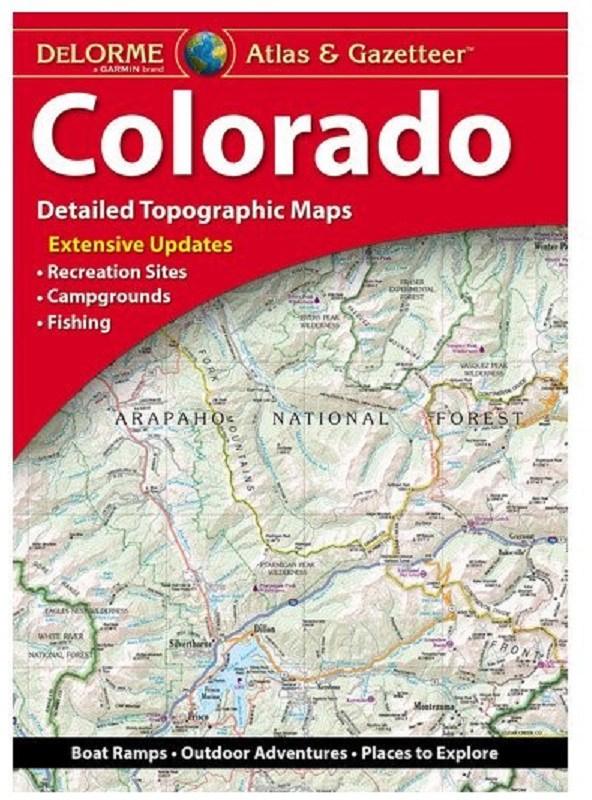
While electronic navigation options offer a certain level of convenience, good old paper maps never have dead batteries and take up relatively little room. Plus, there’s a certain sense of nostalgia associated with tracing your finger over the page as you plan a trip. DeLorme prints excellent atlases for each state, and they’re perfect for getting a trip together as you flip from page to page.
Recovery Gear
You probably don’t plan on being stuck, but recovery gear is a must-have. If you’re out in the backcountry with your rig enough, you’ll either need to recover your own vehicle or you’ll need to help someone else. While it’s important to train with all of your overlanding gear, it is especially true of recovery equipment.
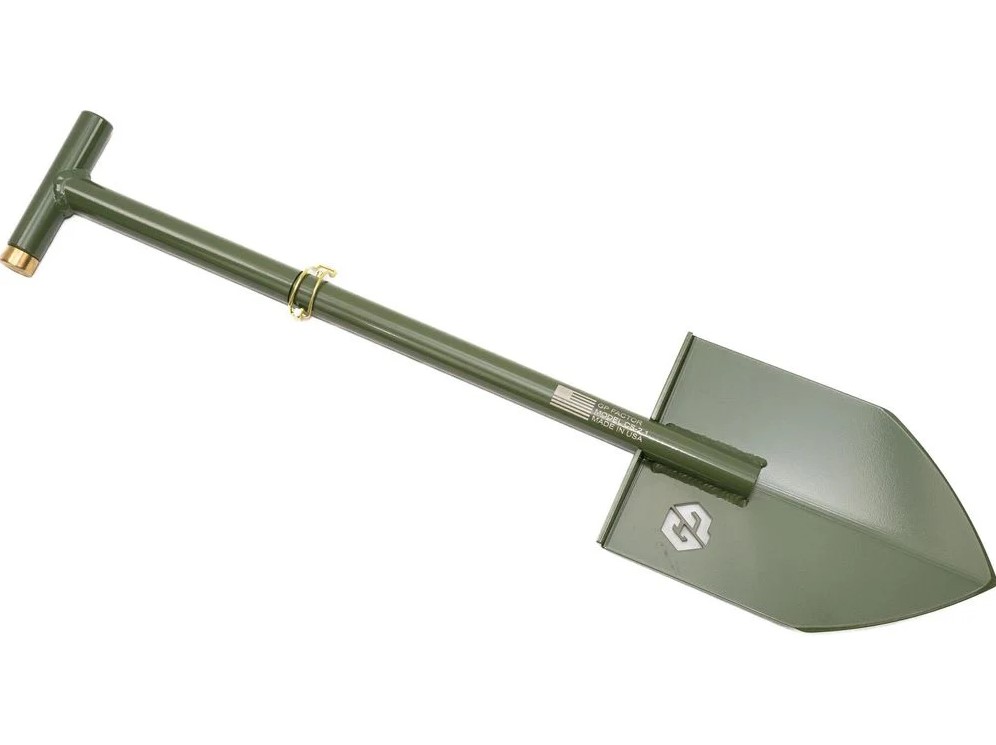
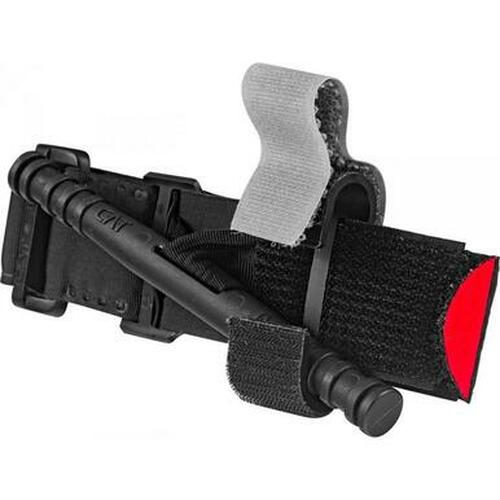
At a minimum, take some hand tools and recovery boards when you hit the trail. This combo can get you out of a lot of tight spots as long as you’re willing to invest some time and sweat equity.
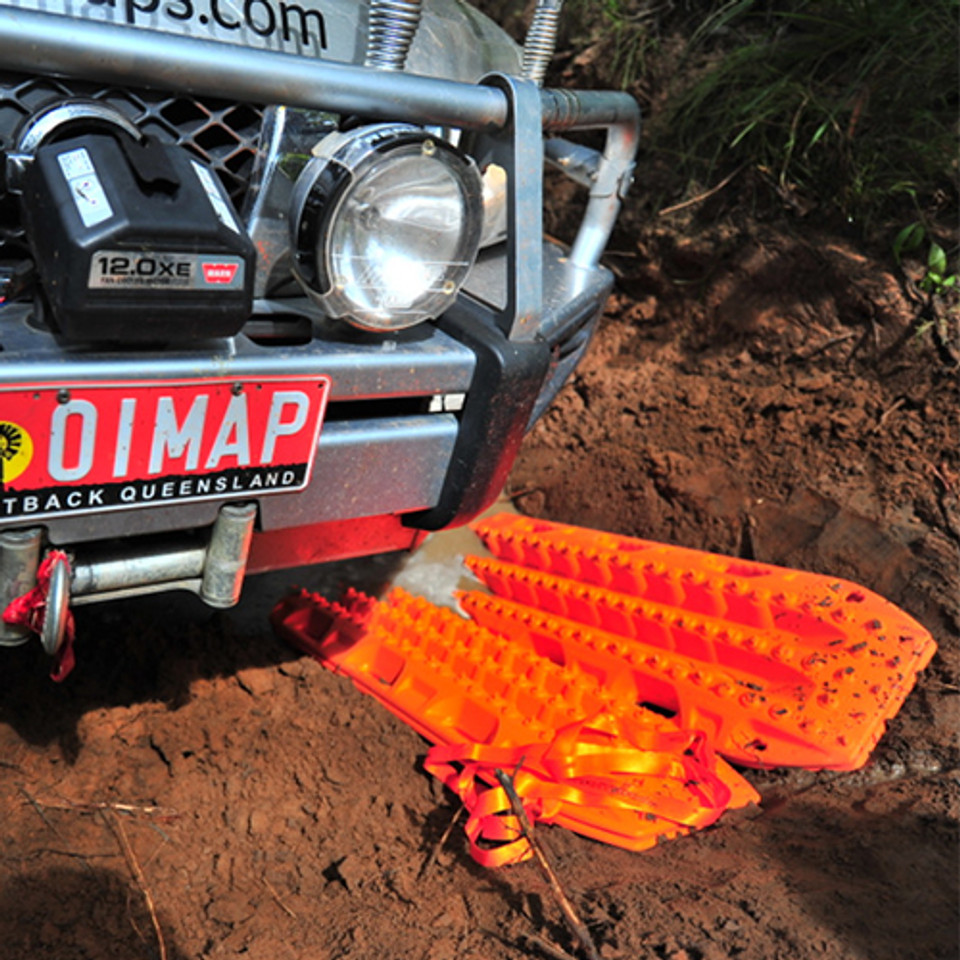
In recent years, the traction board market has exploded. These now-ubiquitous tools have rightfully earned their place in the overlanding packing list. While there are some cheap options out there, we definitely suggest sticking with a thoroughly tested and dependable option.
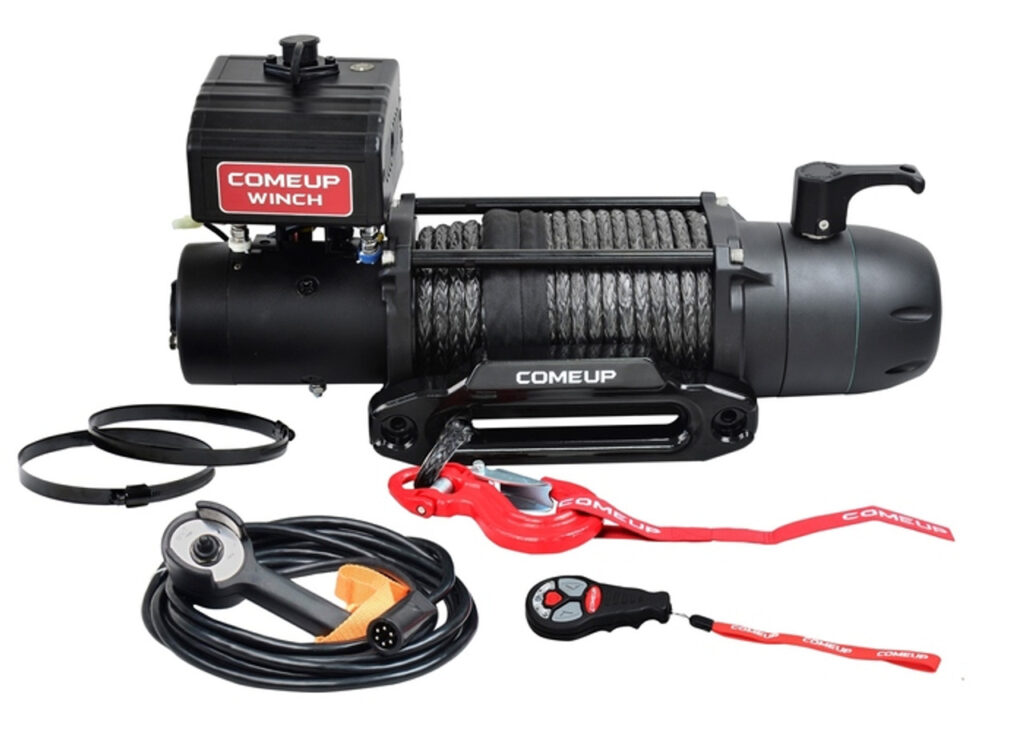
A step up from the hand tool and recovery board combo is the mighty winch. You’ll need to make sure your winch is rated to an adequate weight that matches not only your vehicle but also the added weight of your equipment and accessories. The capability of the winch is exponentially increased when combined with a well-stocked accessory kit.
READ MORE: Gear Collections: Overland Winches
Air Tools
The ability to air up a tire relates to vehicle recovery in more than one way. Not only will an air compressor get you back on the road after a puncture is plugged, but it opens up some easy opportunities to improve your vehicle’s trail capabilities.
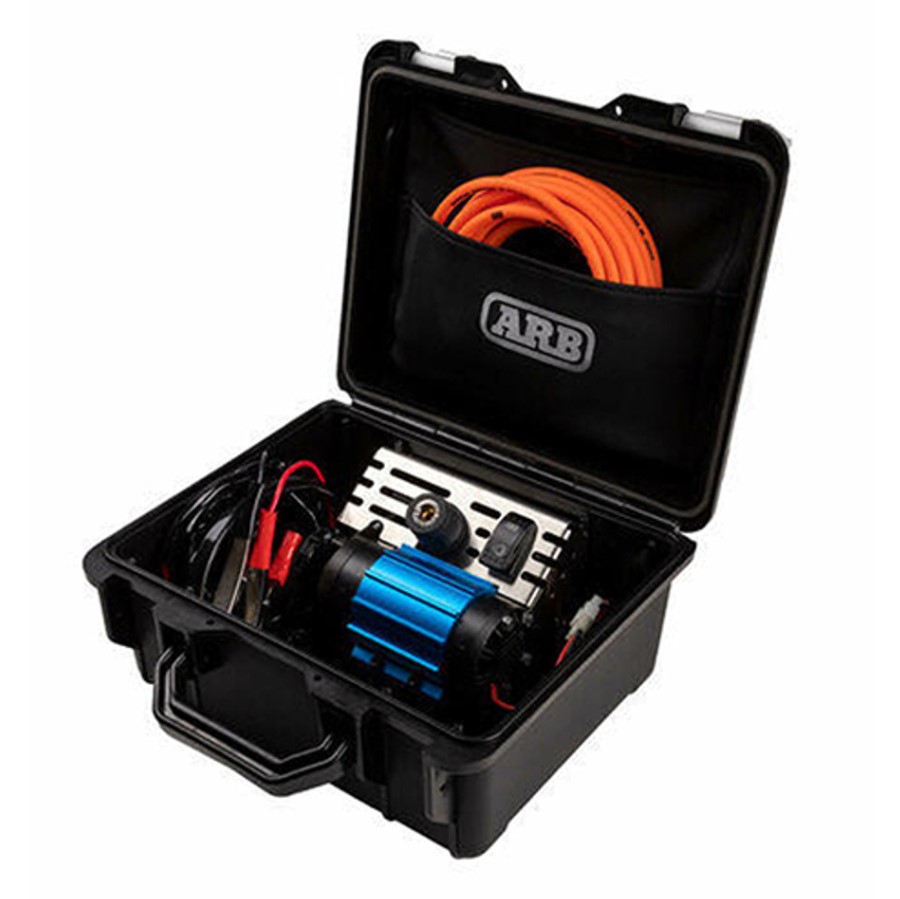
When you air down your tire, it increases the contact patch, aka the footprint, of your tire. Airing down also makes traveling over rough terrain a bit more comfortable. However, when you’re ready to get back on the road, you’ll need to air up to highway pressure. The air compressor is the key to this balancing act. No matter if you go for one that’s built into your rig or mobile model, be sure you have a way to air up and down.
First Aid
We’re firm believers that every vehicle should include first aid and emergency equipment, even if you don’t plan to stray from the tarmac. Your first aid kit should be outfitted to meet the emergency situations you’re most likely to encounter and your training. Are you heading to the desert? Pack more electrolyte packets and sunscreen. Does your adventure take place during prime time for insects? Then, be sure you don’t skimp on repellant and after-bite care. If someone in your group has specific medical needs, make sure your kit has what they might need. At the same time, don’t take a bunch of medical gear that is outside your skill level. Medical training that is geared towards first aid and stabilization of more severe conditions is one of the best investments you can make, and knowledge weighs nothing.
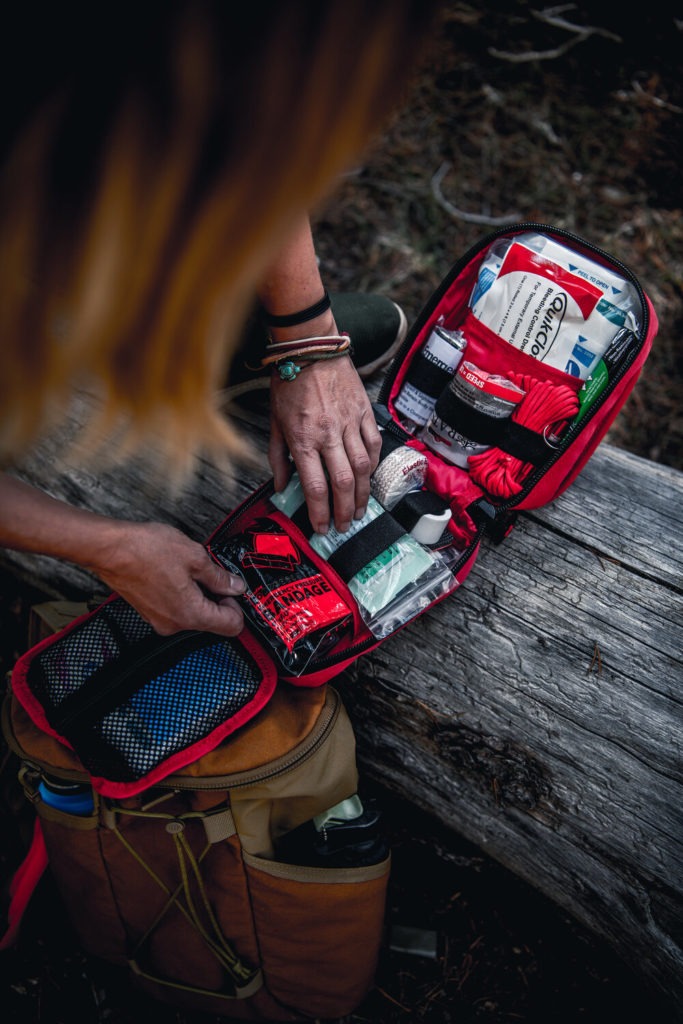
No matter if you’re looking to put together a fully customized kit or if you’d prefer a premade kit, be sure it’s from reputable sources. Most of our kits are outfitted with Adventure Medical, MyMedic, and North American Rescue equipment and supplies.

READ MORE: How-To Choose an Overland First Aid Kit (or Build Your Own)
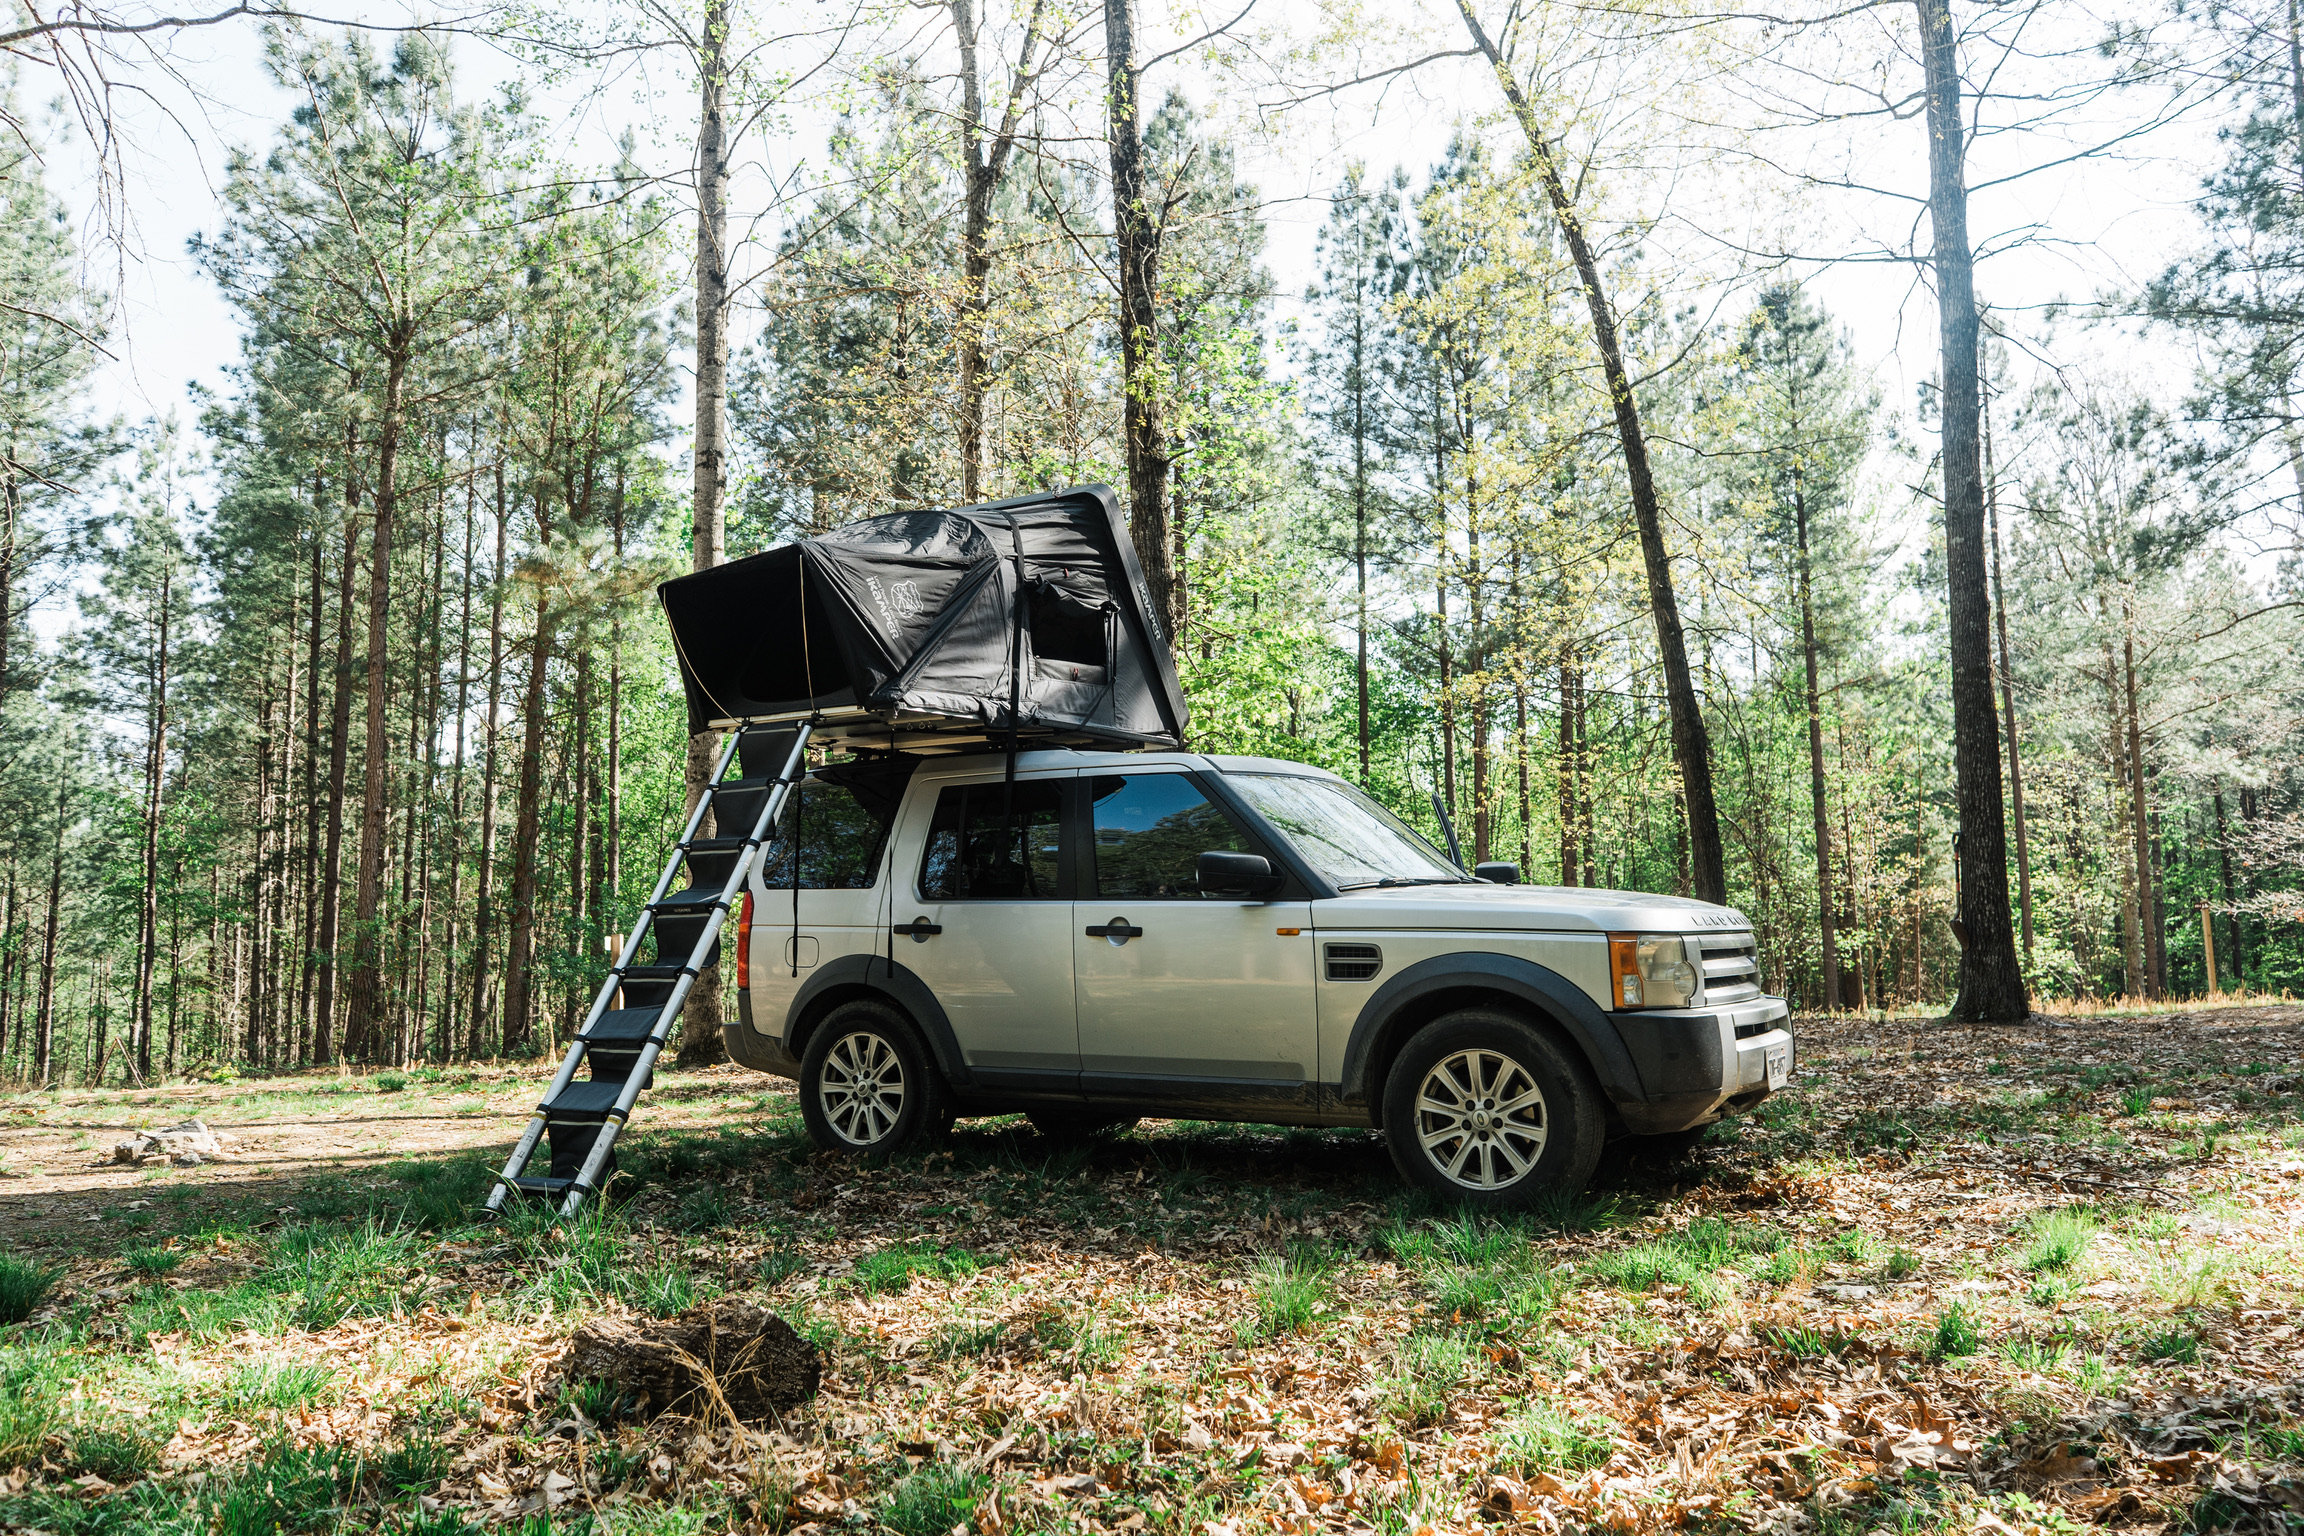
Sleep
Obviously, you’ll need to pack adequate shelter (here are our suggestions for the Best Overlanding Tents), but don’t skimp on the insulation layers you’ll use inside of your tent. You have a few options when deciding what will keep you cozy after the fire has died down.
Down is unbeatable for warmth-to-weight ratio, and there are some great synthetic options out there as well. Depending on where you travel and how you prefer to sleep, you can take a look at quilts for a more versatile insulation option or go for a sleeping bag for colder climates.
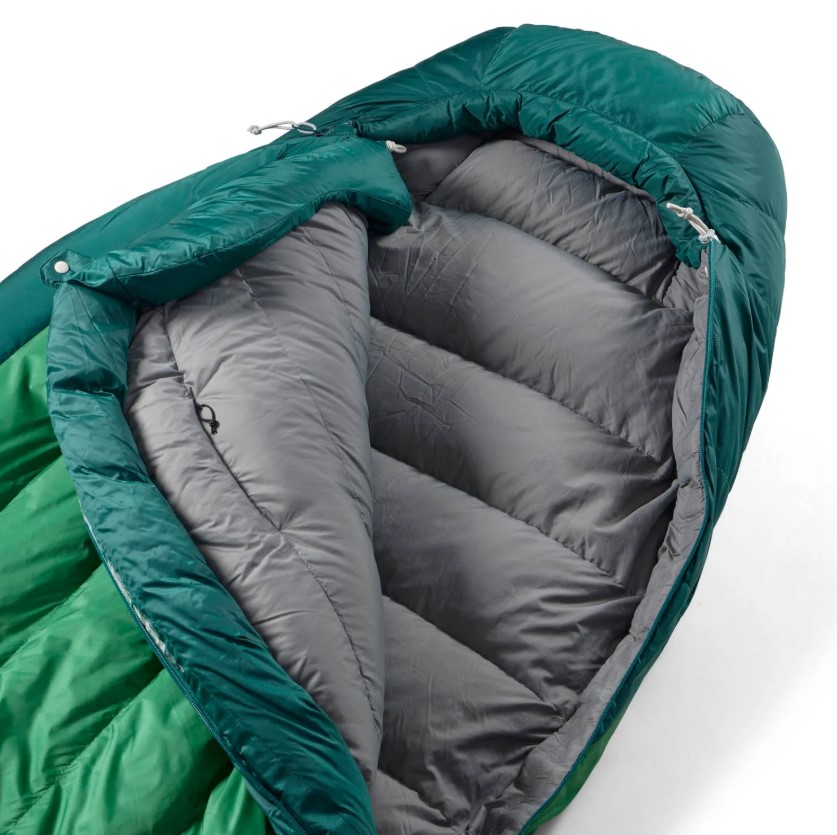

Additionally, a wool blanket will keep you warm even in nasty conditions, and outside of your sleeping equipment, it makes a great addition to a vehicle winter emergency kit.
Kitchen
Okay, this is an area where overlanders vary wildly on what they deem essential. The best advice is to start with the basics and then decide how in-depth you want to get with your camp cooking gear.
At the very least, you’ll need a stove. While the notion of cooking everything over a fire can be romantic, it’s not necessarily practical, or even legal, in every circumstance.
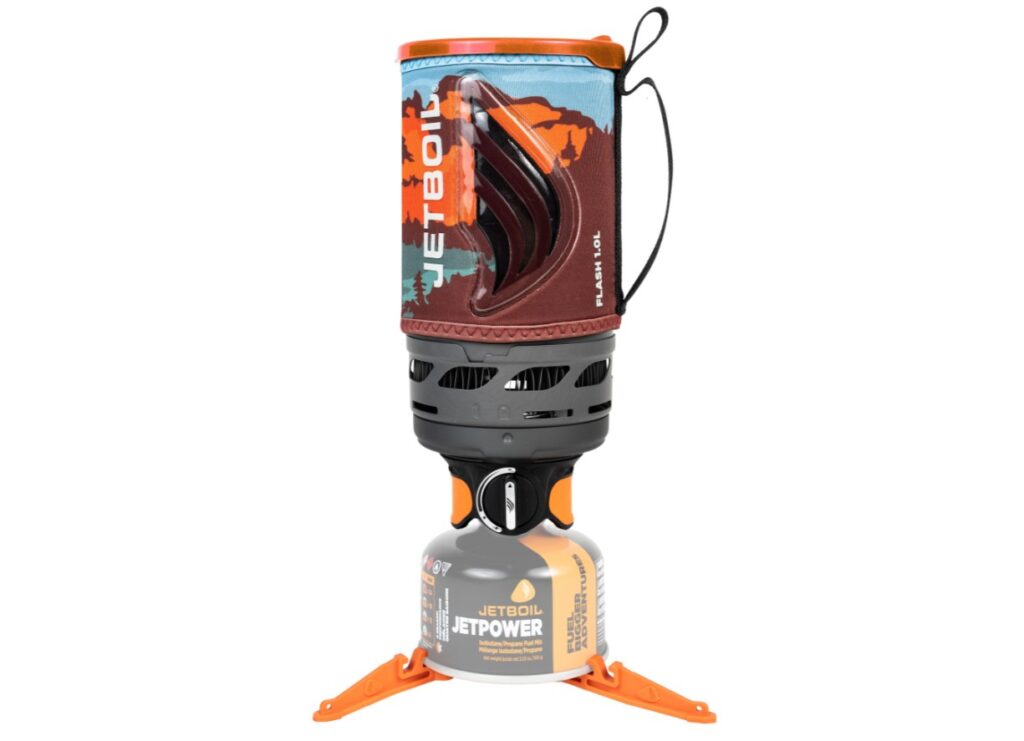
One of the most compact options for camp cooking is the Jetboil line of stoves. While sizes vary, these stoves can boil water and include integrated pots, and the larger models have some simmering capability. This style of stove runs almost exclusively on isobutane canisters.
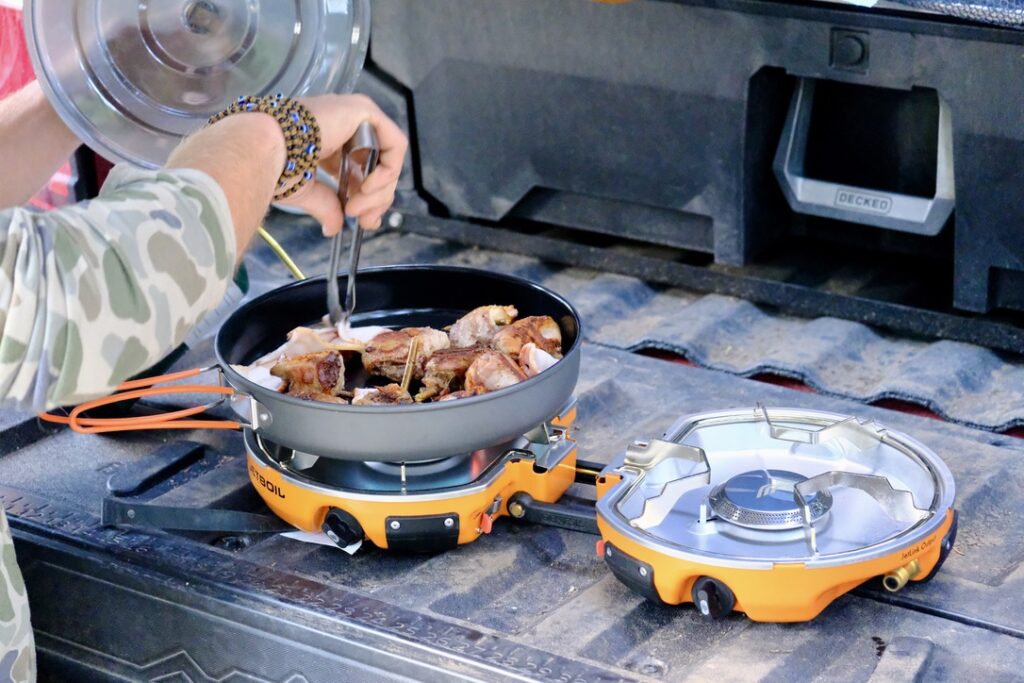
The next step up would be a two-burner stove. This gives you significantly more culinary flexibility, and you can even add a griddle top or other accessories if you want to get creative with your camp cooking.
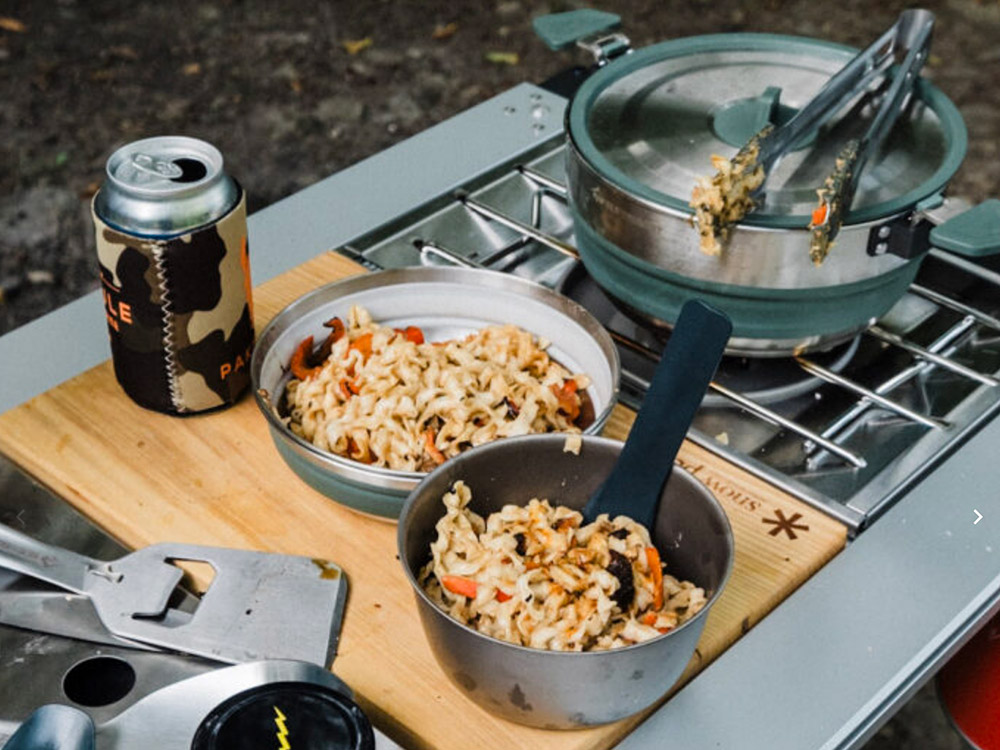
Outside of your stove, you’ll need some cooking accessories. This is a great opportunity to start small and build from there. If you plan accordingly, you only need a few pots and pans. Kits that pack together save space and simplify organization.
Fridge vs. cooler
In order to go further, you need to stay out longer, and in nearly every instance, that means less access to the amenities of the modern world. While a quality cooler works great for weekend trips, replenishing ice can become a challenge if you’re in the backcountry for more than a few days.
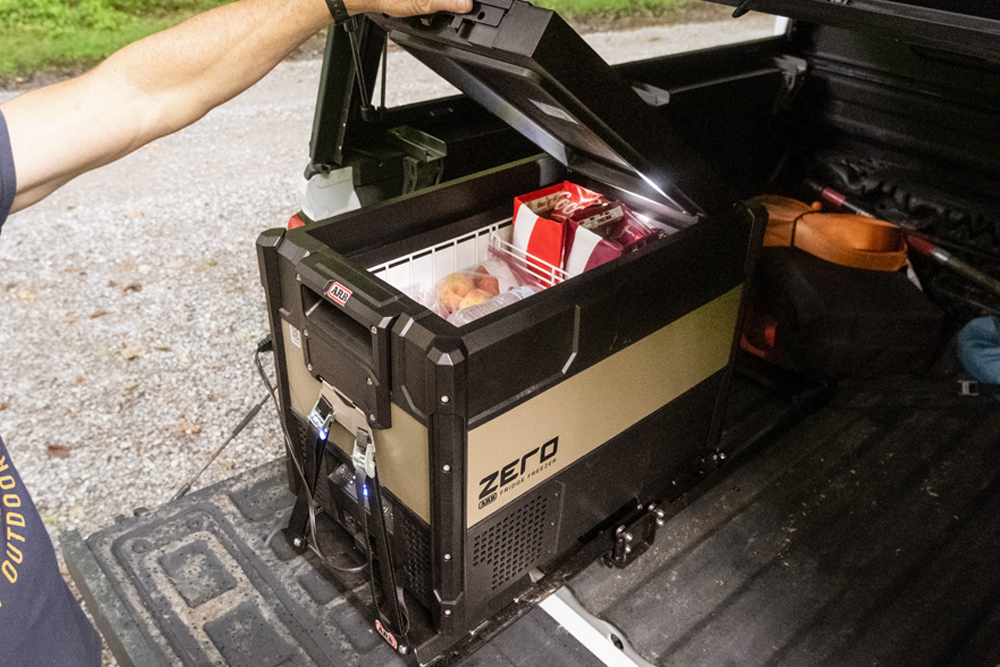
While fridges require more upfront work in terms of a power supply, they provide an extremely easy way to keep your food cold after that initial set-up. You can choose the fridge that matches your travel style in terms of capacity, single versus dual-zone, and there is a wide range of models available in terms of budget.
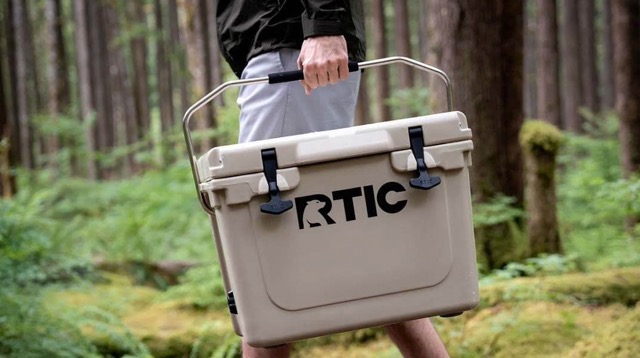
On the other hand, coolers are cheaper than fridges; they are easily removed from your rig when not in use, and there’s obviously no need to worry about power. If your trips aren’t longer than the lifespan of the ice, or you don’t mind basing your route around opportunities to purchase ice, then a cooler might be the right equipment for you.
Storage
Lastly, storage for all of your gear may be the most crucial aspect of what you bring overlanding. How’s that? Well, if you can’t find what you need and everything is piled together, you won’t have a very good time. On a more serious note, in an emergency, a lack of organization can be a major factor, so staying organized is imperative.
Drawers for wagons, SUVs, and trucks are a common storage solution. They’re great for keeping your rig loaded and ready to go. Plus, it’s a great way to utilize every cubby and inch of space in your vehicle.
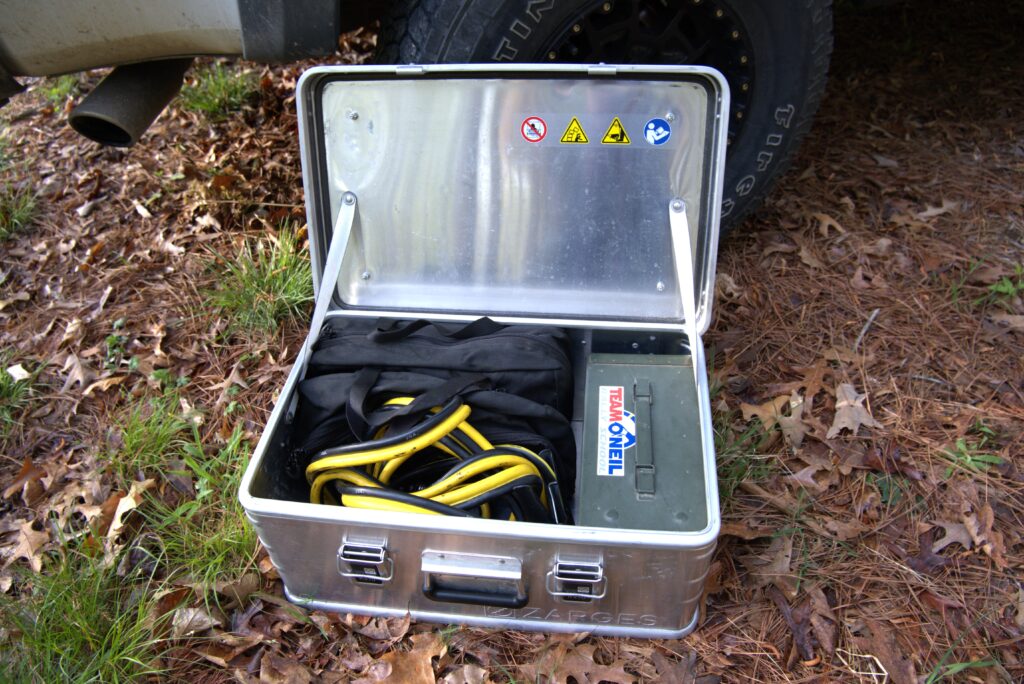
Hard cases are another great option for keeping everything sorted. We prefer hard cases that are easy to stack and secure so that you don’t have to worry about them bouncing around when the track gets tough. If they’re waterproof and dustproof, that’s even better. Then, you can carry them outside of the passenger area of your vehicle without worrying about ruining your cargo.
Overall, let your training and experience shape what you bring on your overlanding trip. While some items fall firmly in the better-to-have category, there are some that definitely are wiser to carry lest you desperately need them. Experiment with what works for you.
In the world of overlanding, there’s room for those who enjoy a dehydrated backpacking meal at dinner just as much as there’s room for the adventurer who brings a literal truckload of gear. As long as you’re traveling safely and responsibly through the backcountry, in my opinion, you’re doing it right.